Stone and Clay
Even a common, ordinary brick… wants to be something more than it is.
— Louis Kahn
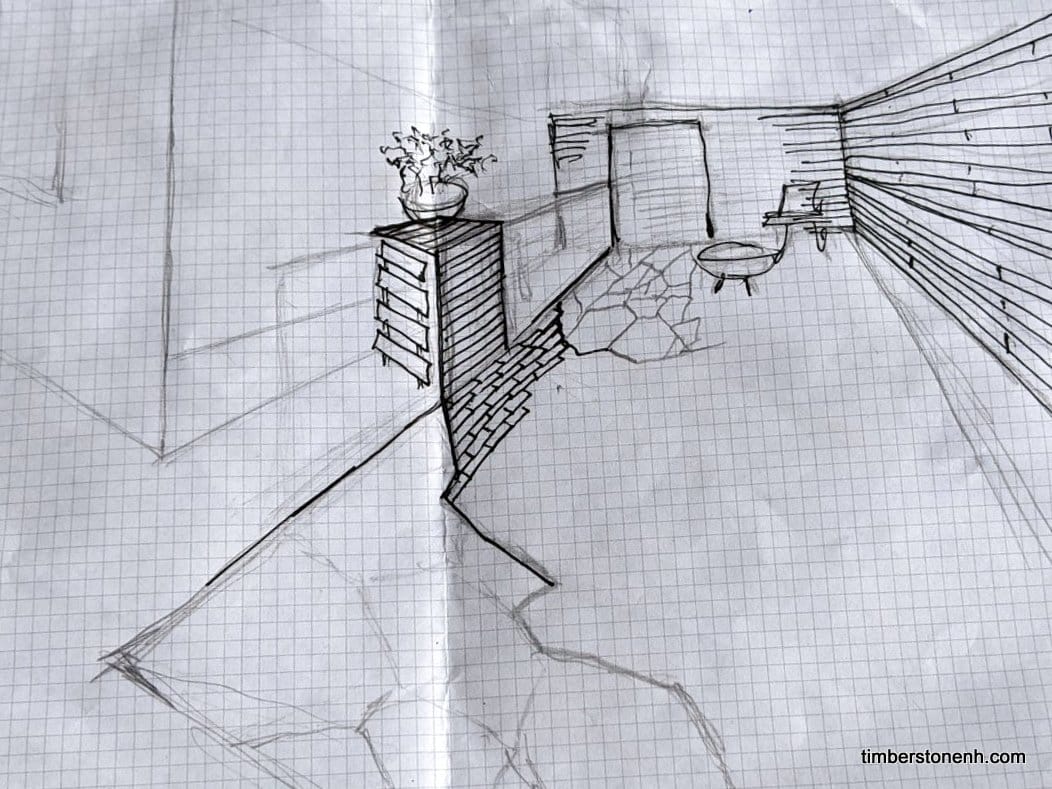
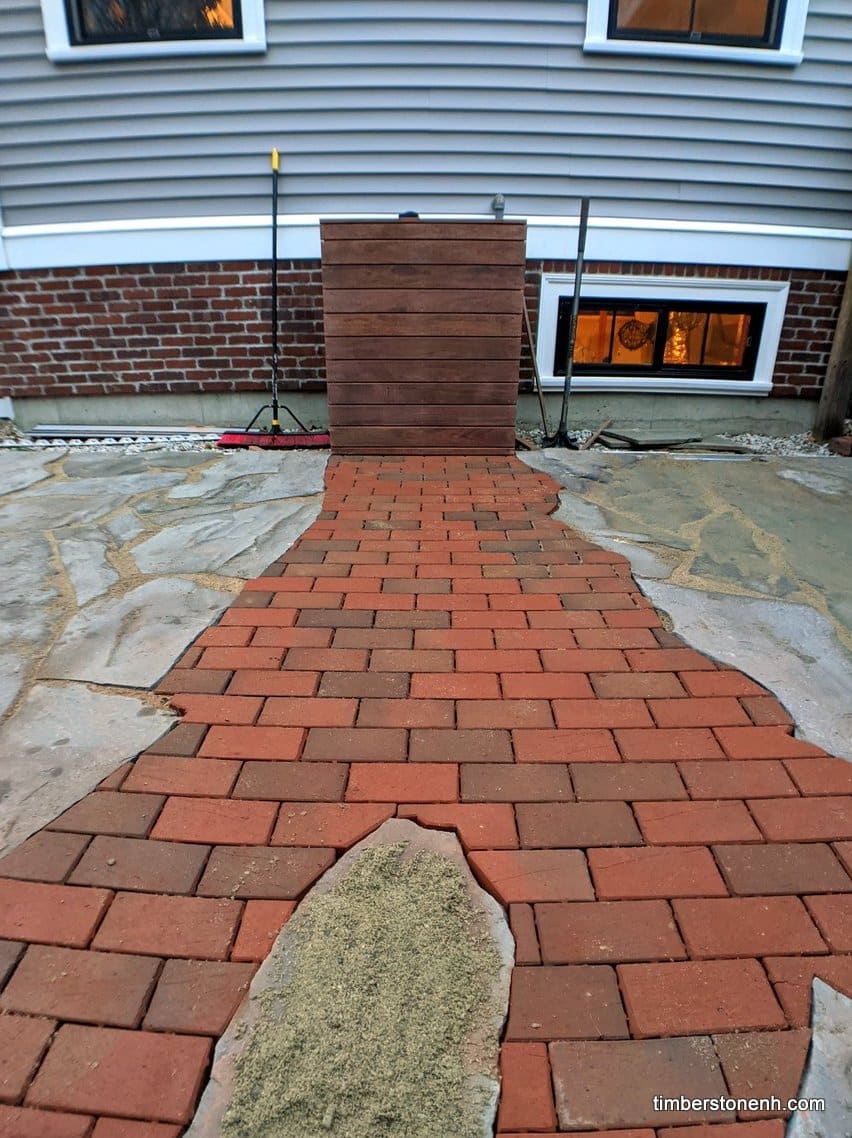
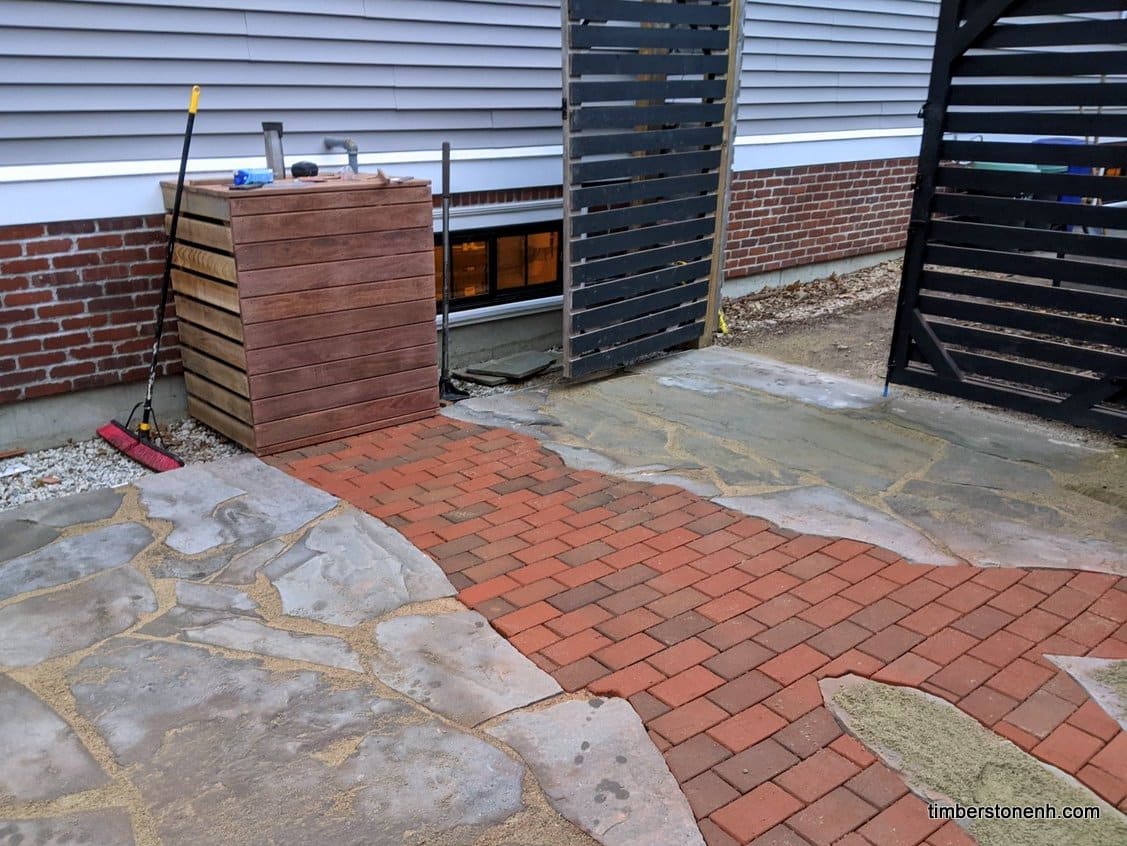
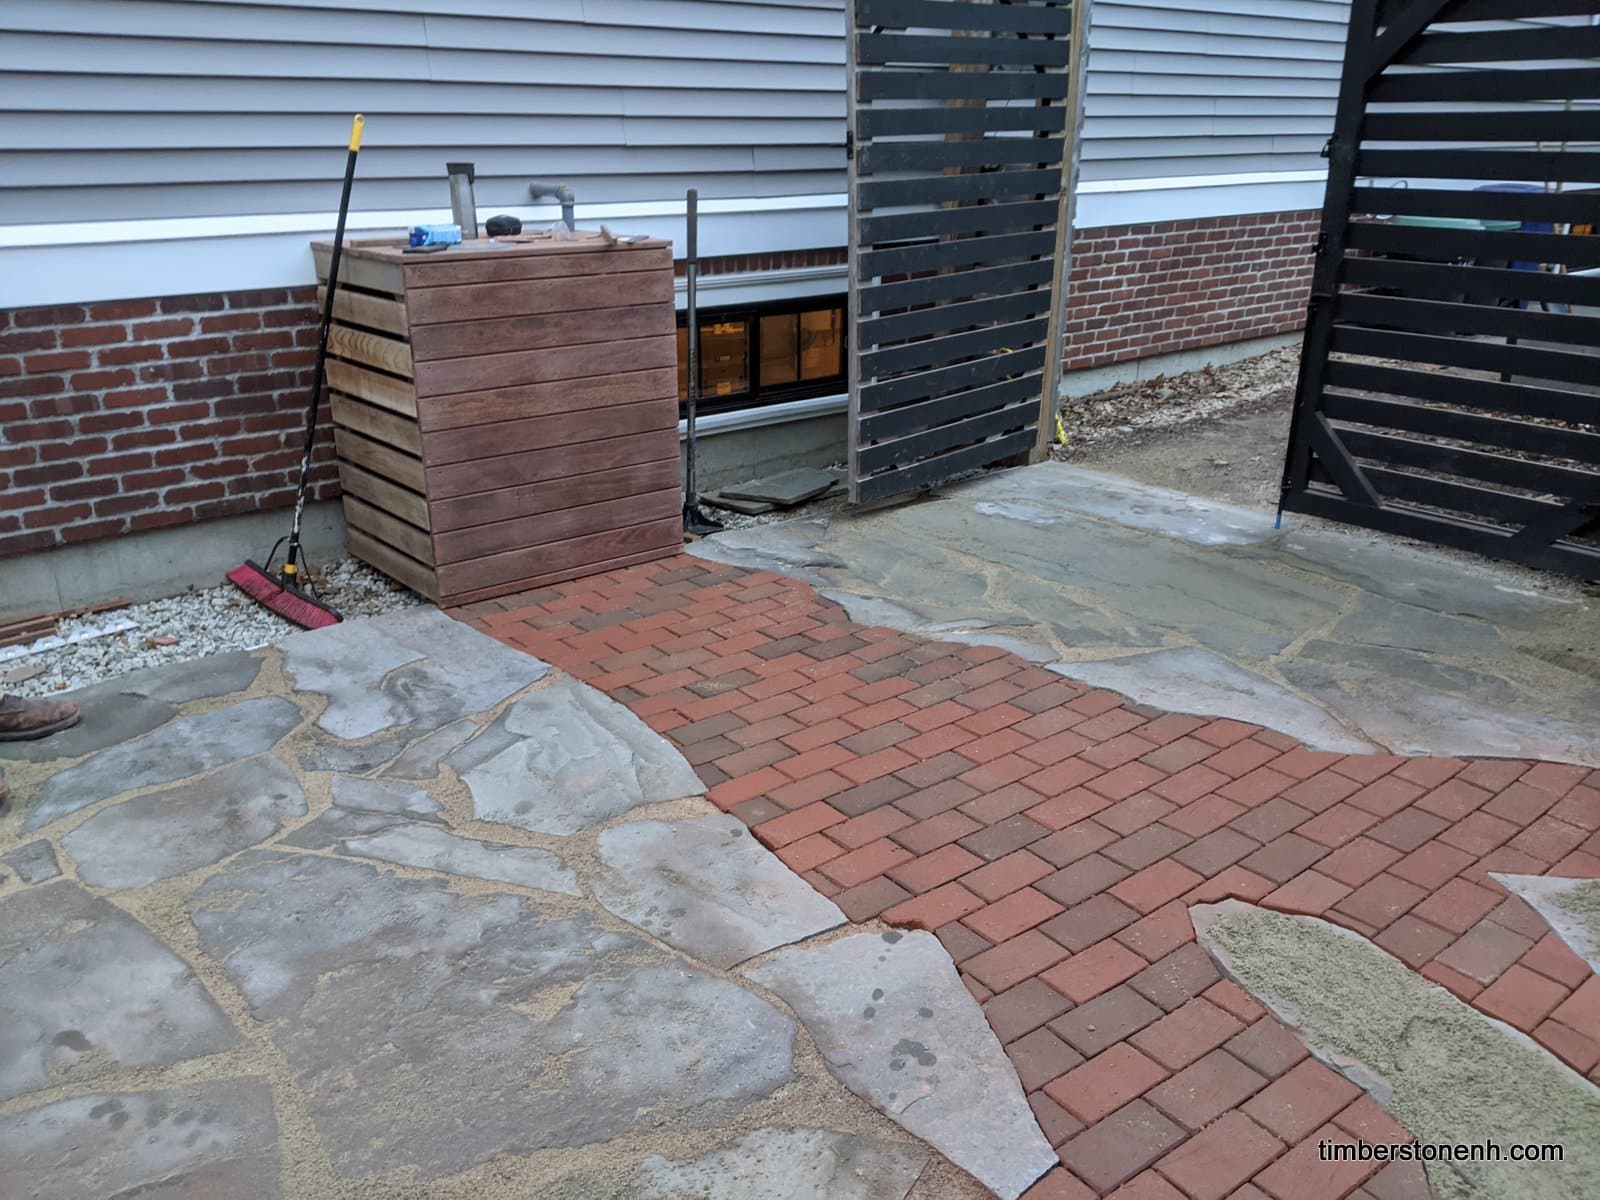
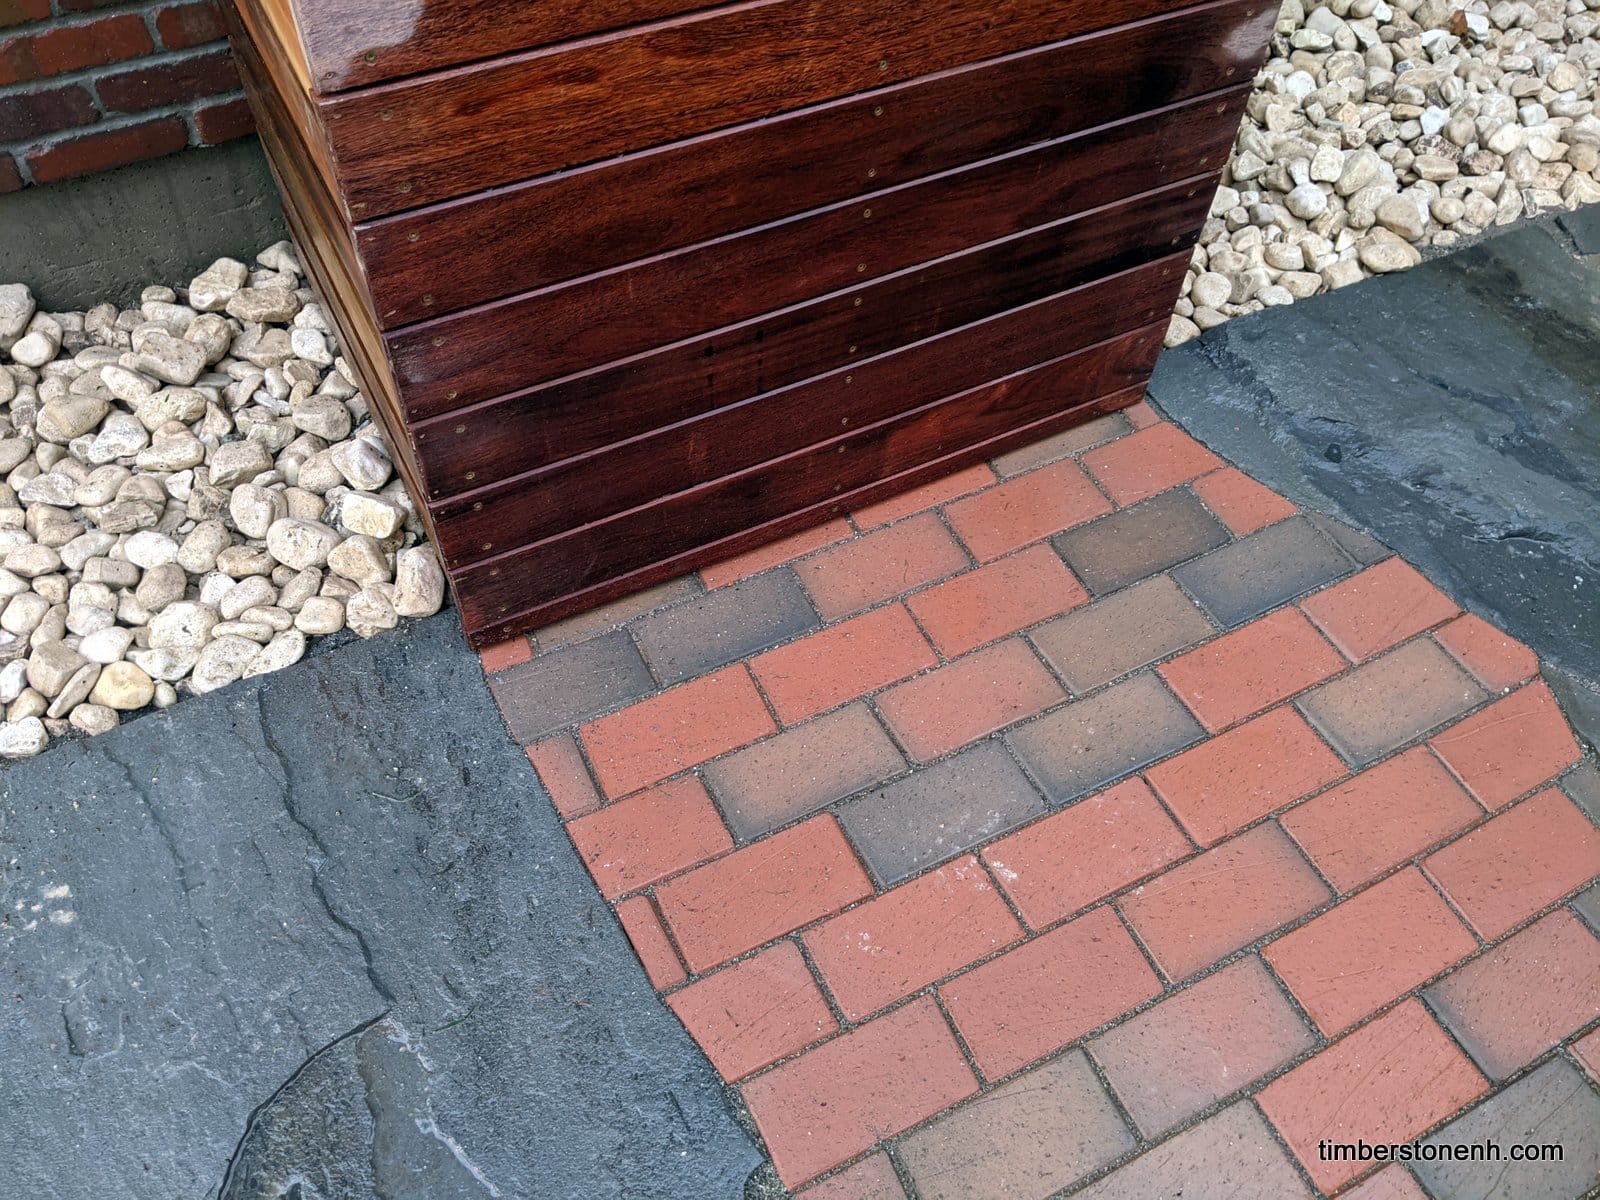
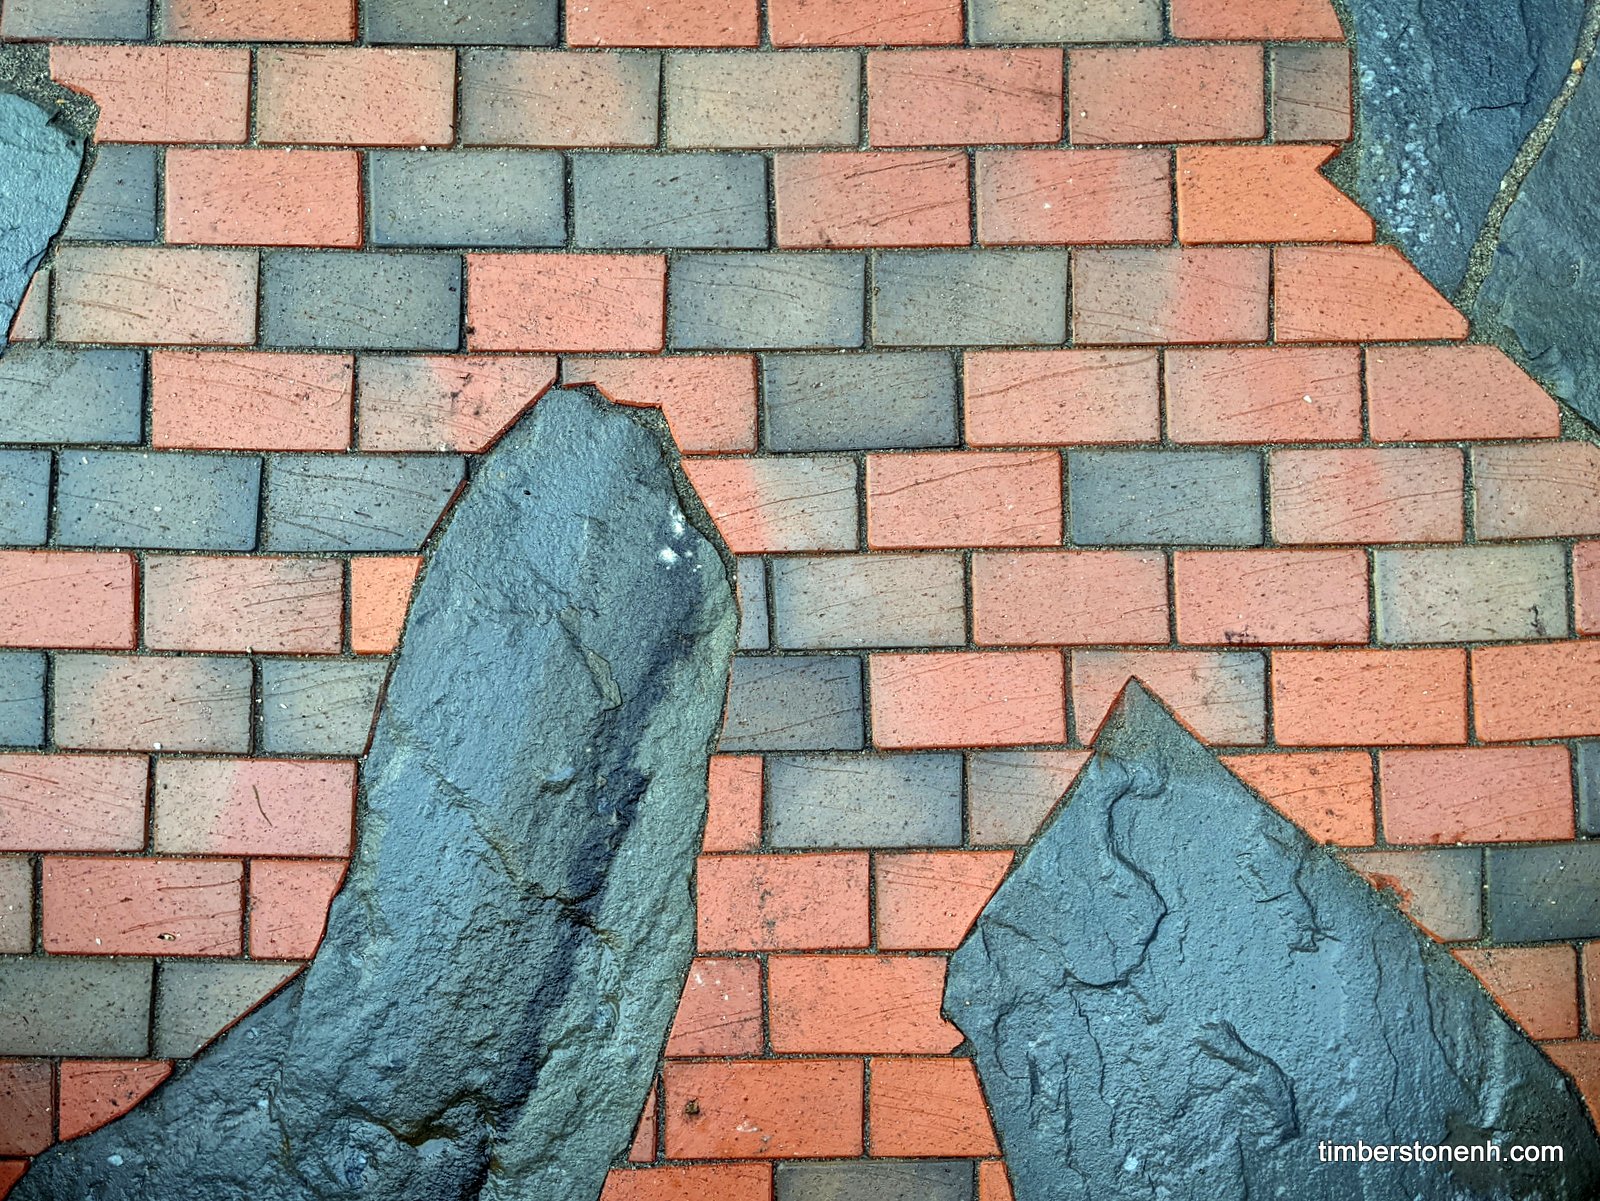
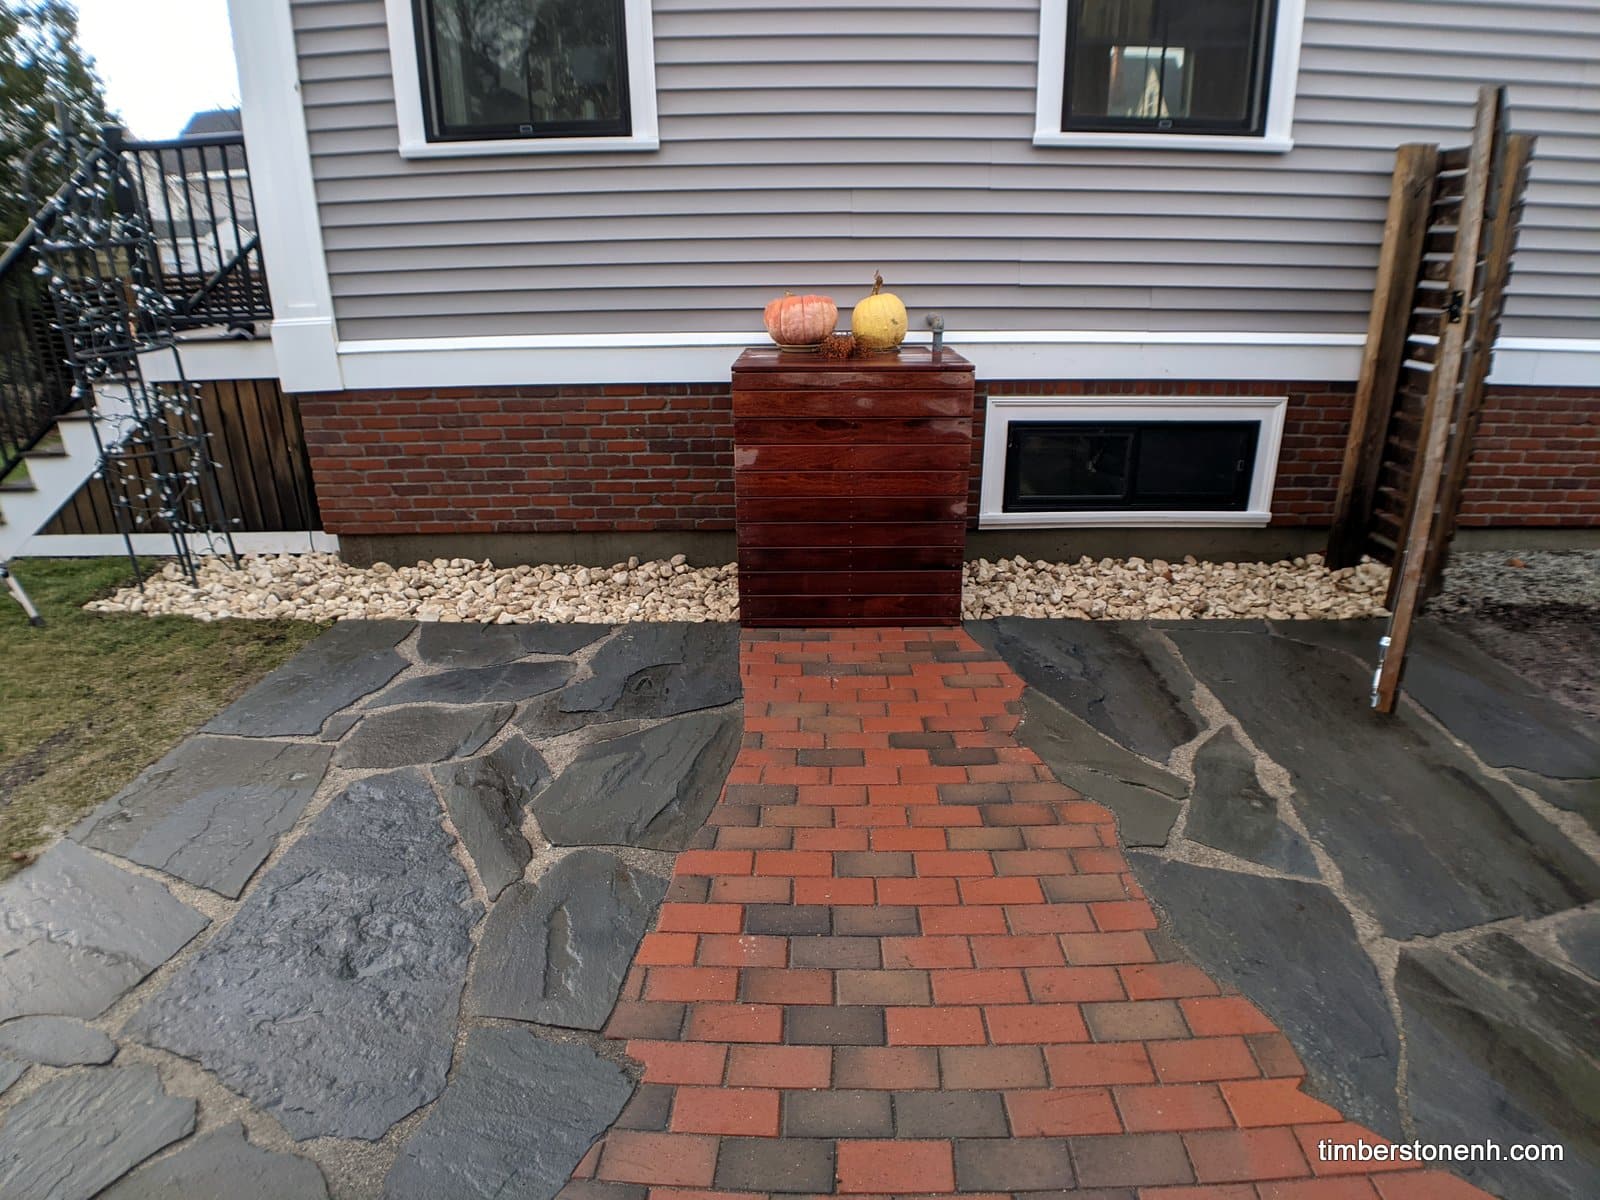
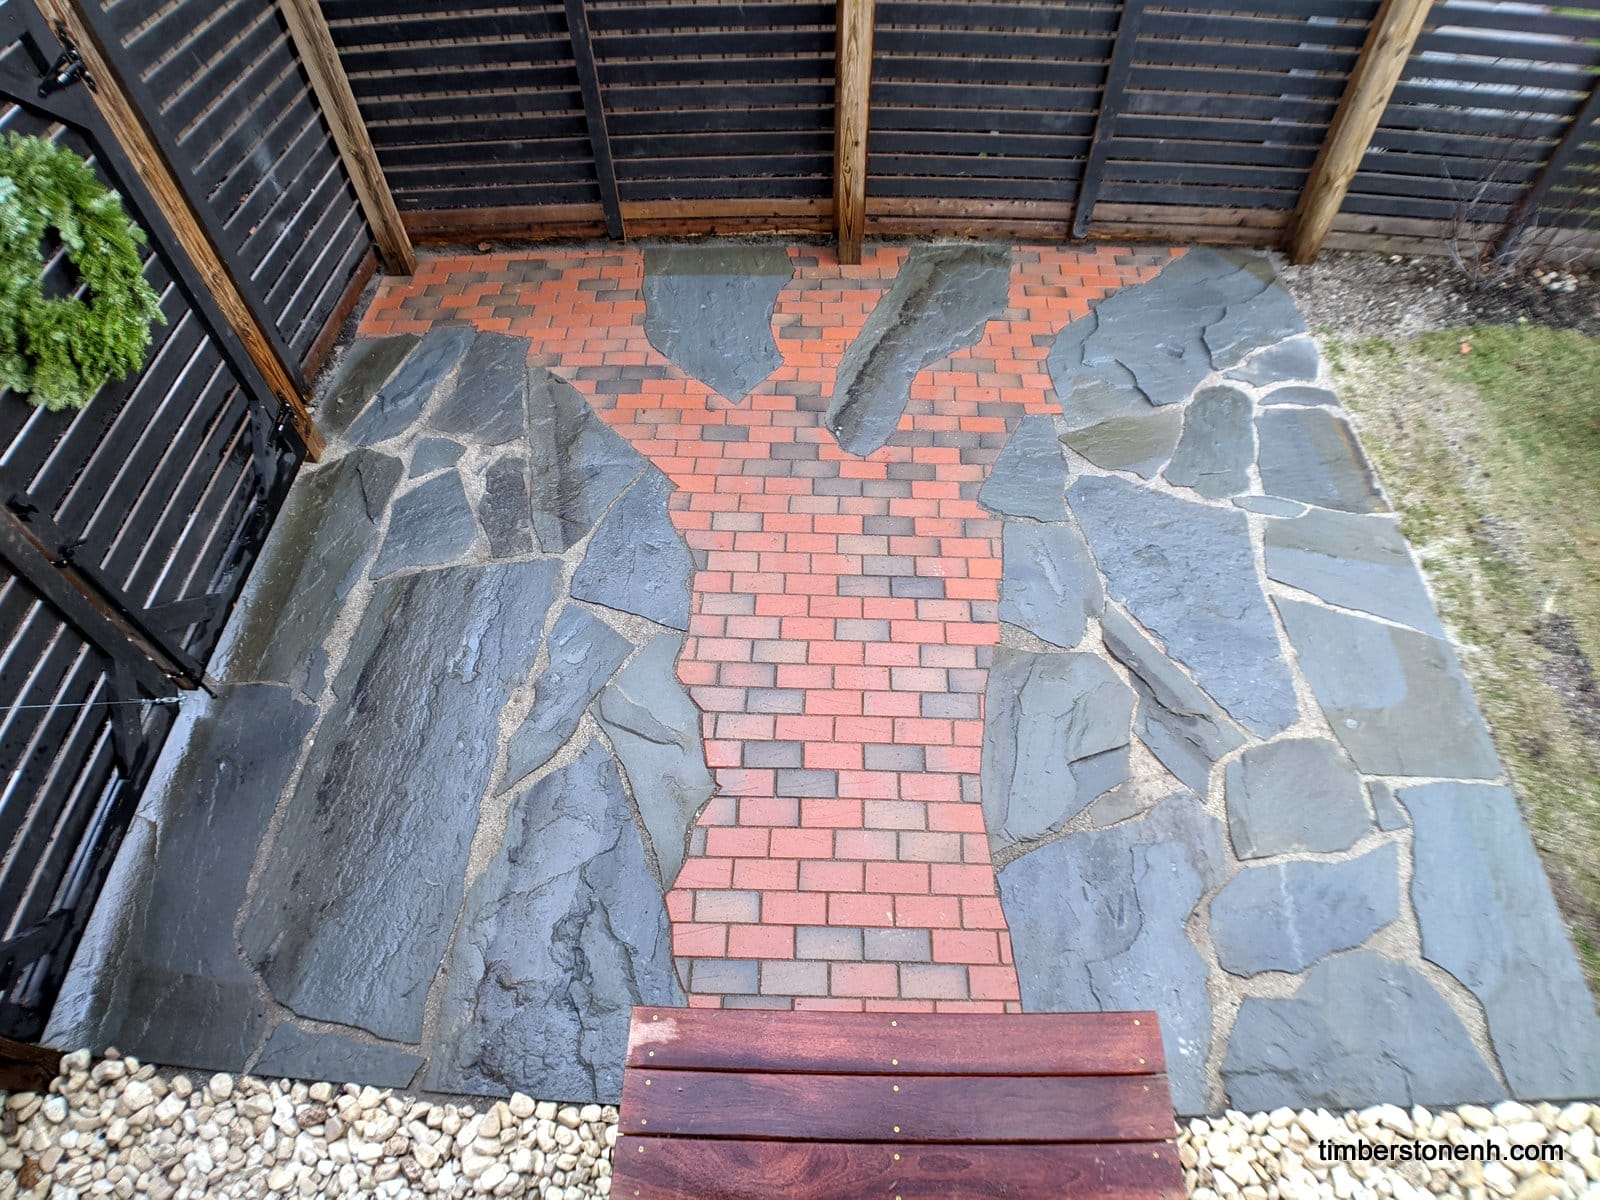
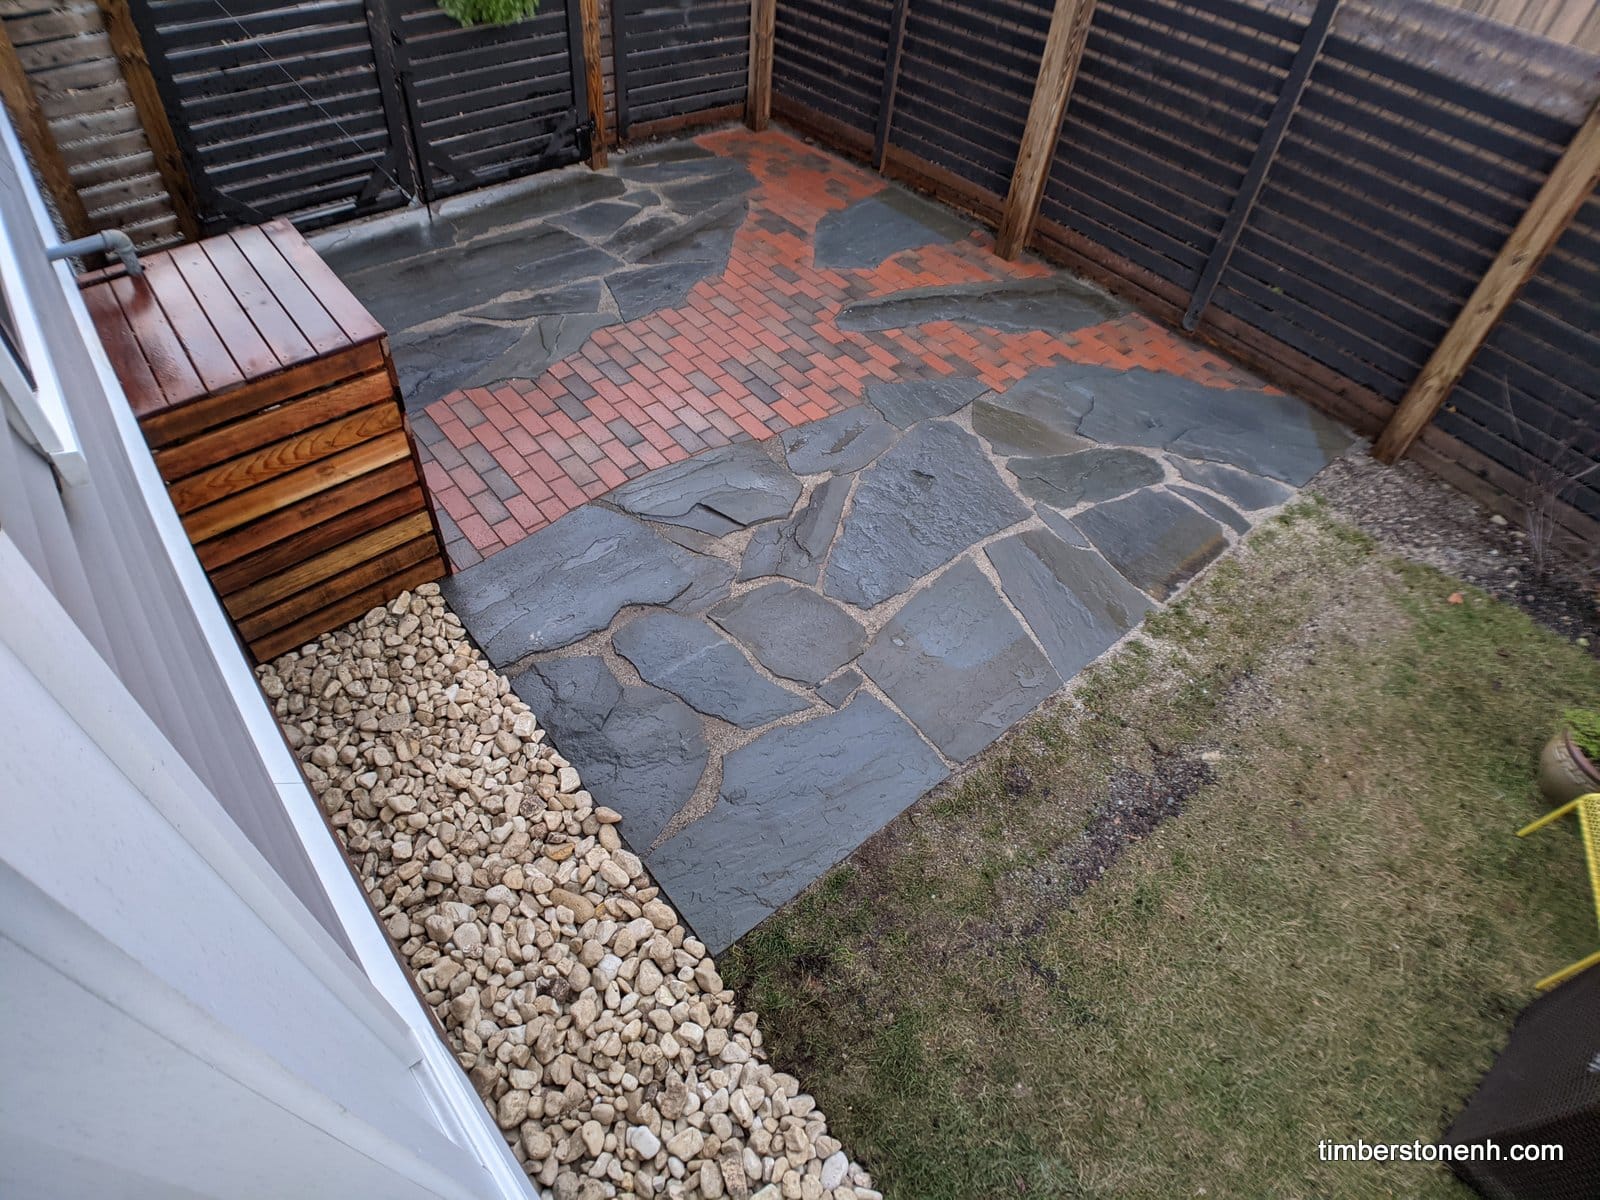
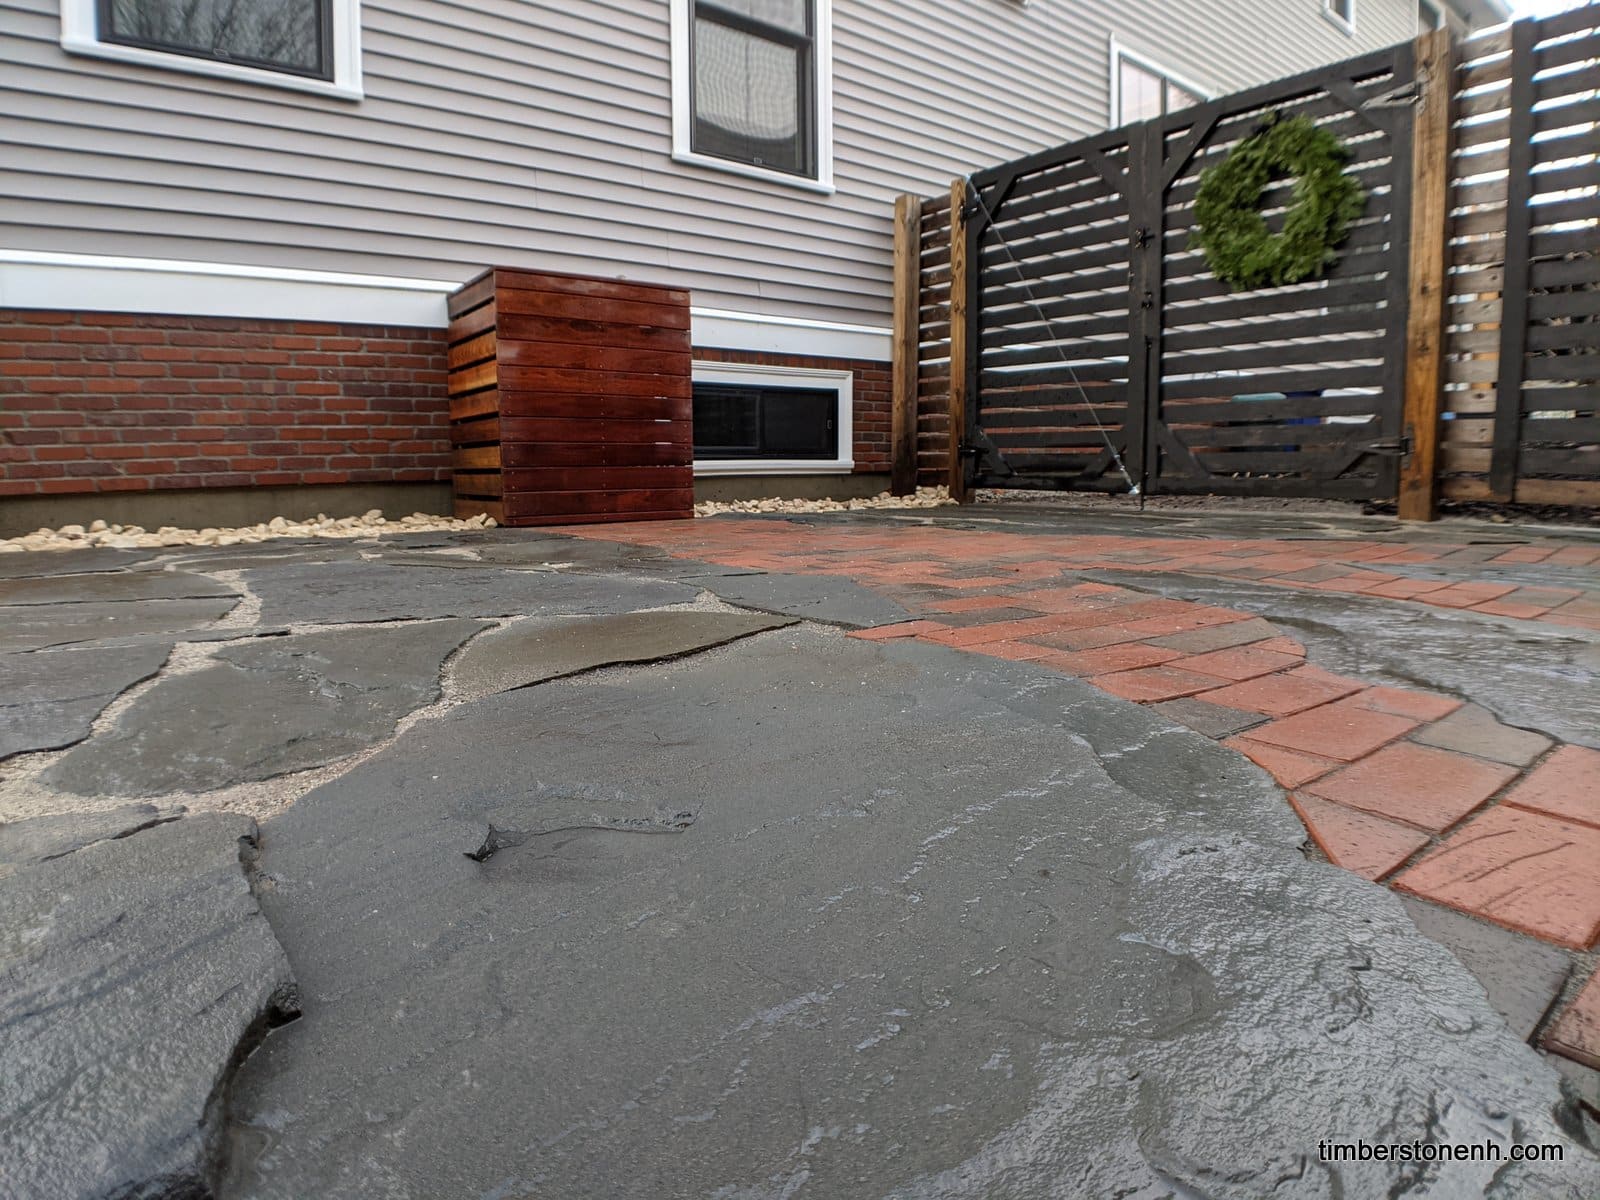
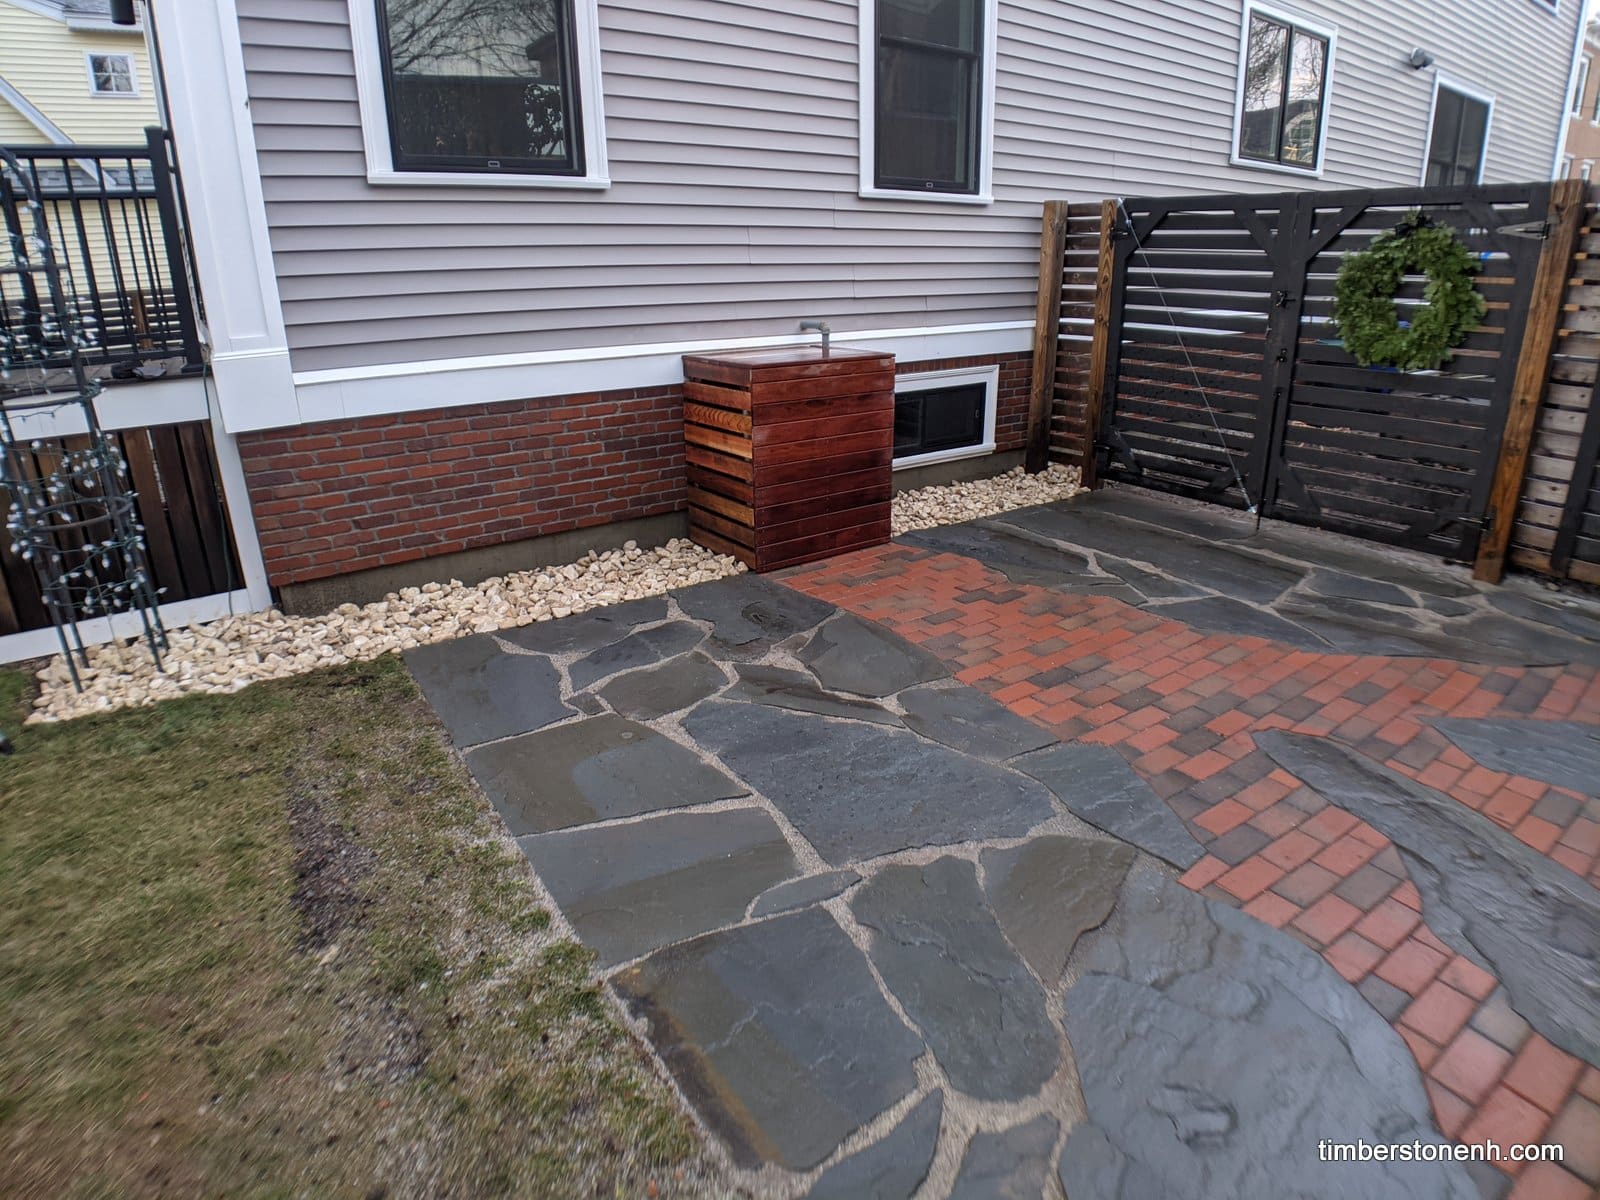
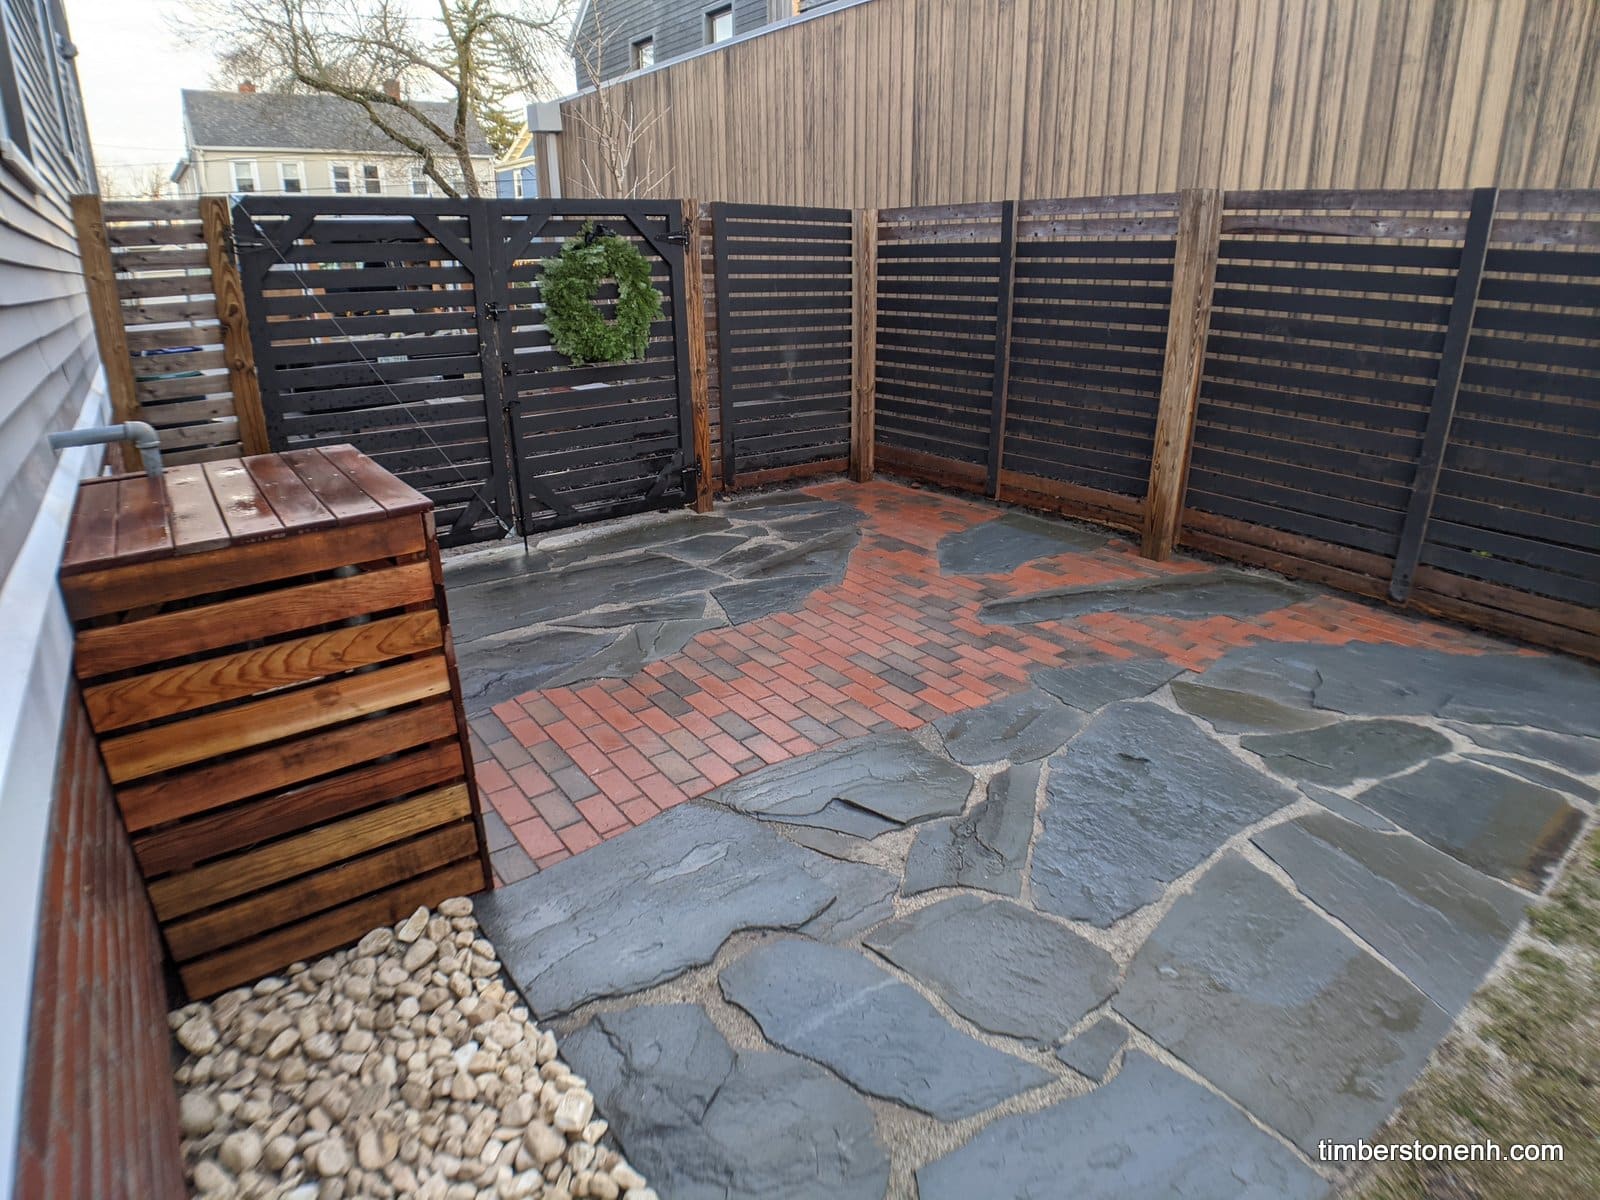
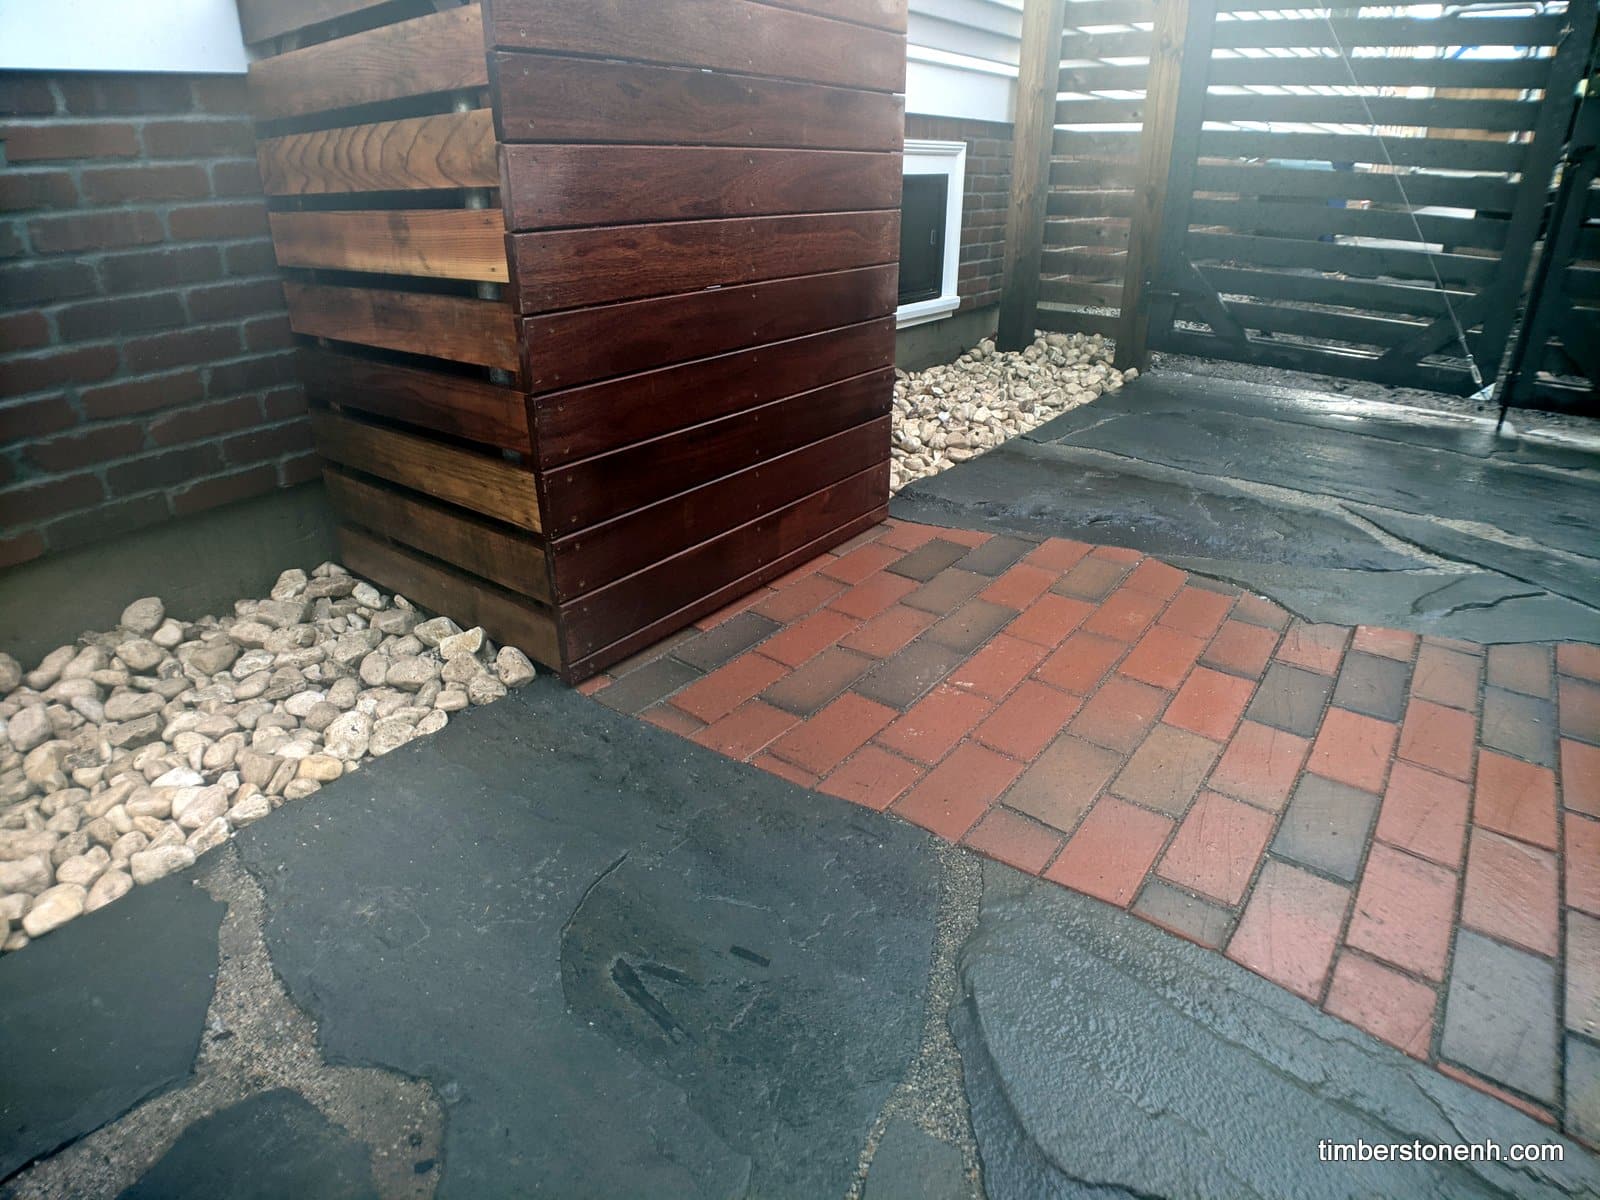
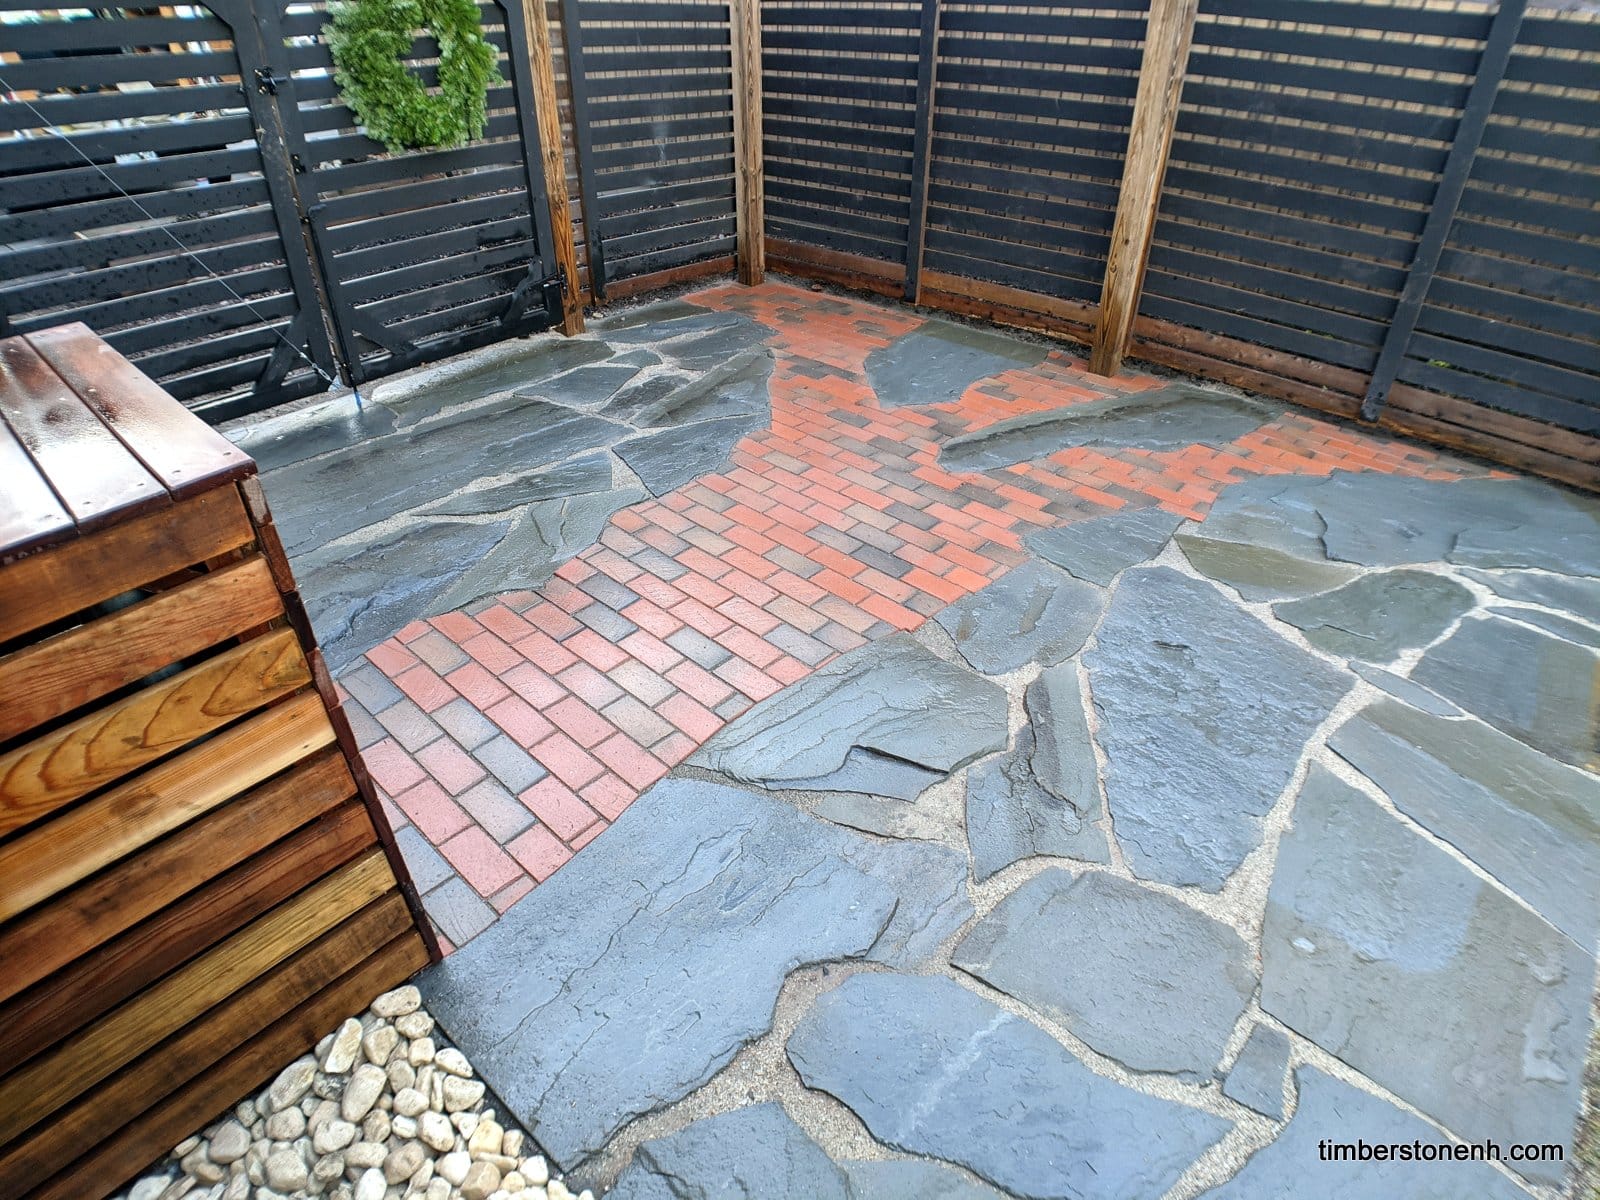
This design didn’t start with bricks. We started with bluestone per the clients’ request. We all agreed that the beauty of bluestone was in the blue tinged greys and natural variations. Bluestone is a word used to describe a few stones, but in this case a sandstone quarried in Pennsylvania that was sourced and delivered by Pro Landscaping in Goffstown. During the design process we were exploring ideas and ultimately decided to lean into the natural variation of the stone. We set out to create a juxtaposition of the extremely variable bluestone with a regular brick pattern. The concept ended up being called a “vein”. This vein would feed off the table and utility cover we would build to hide the gas meter.

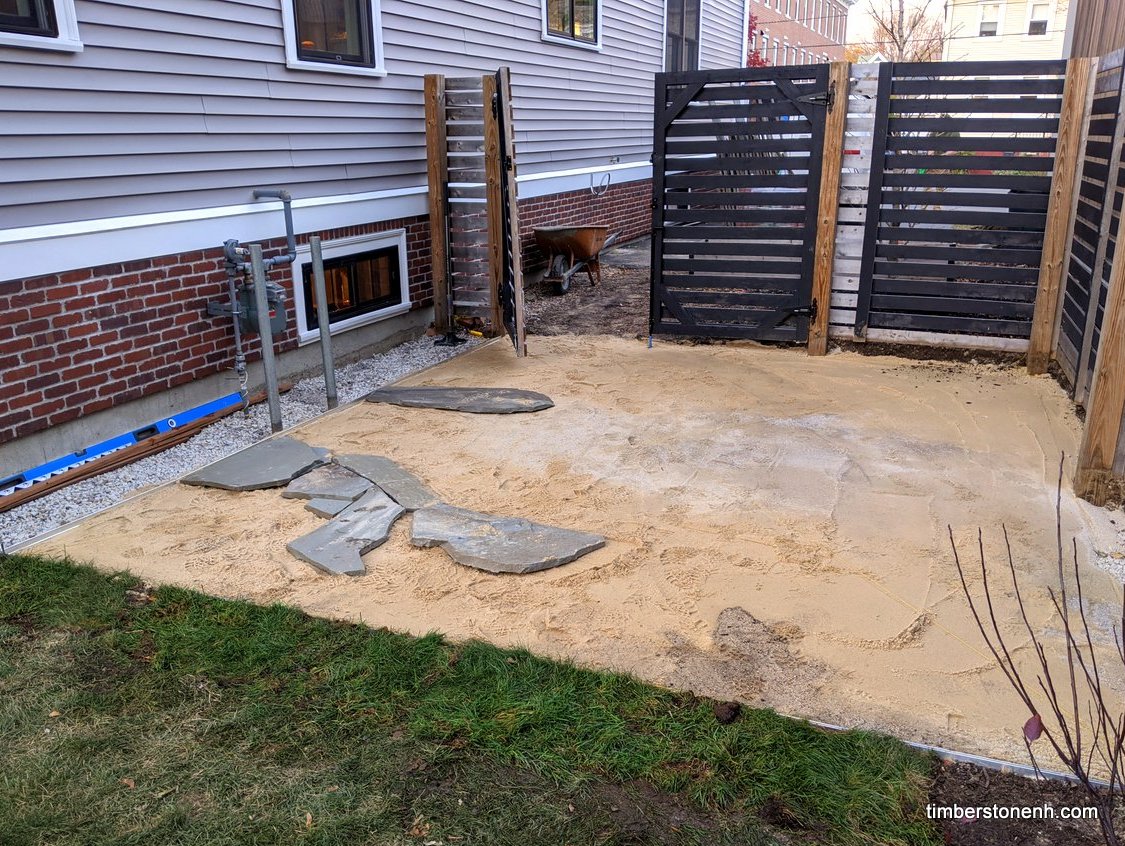
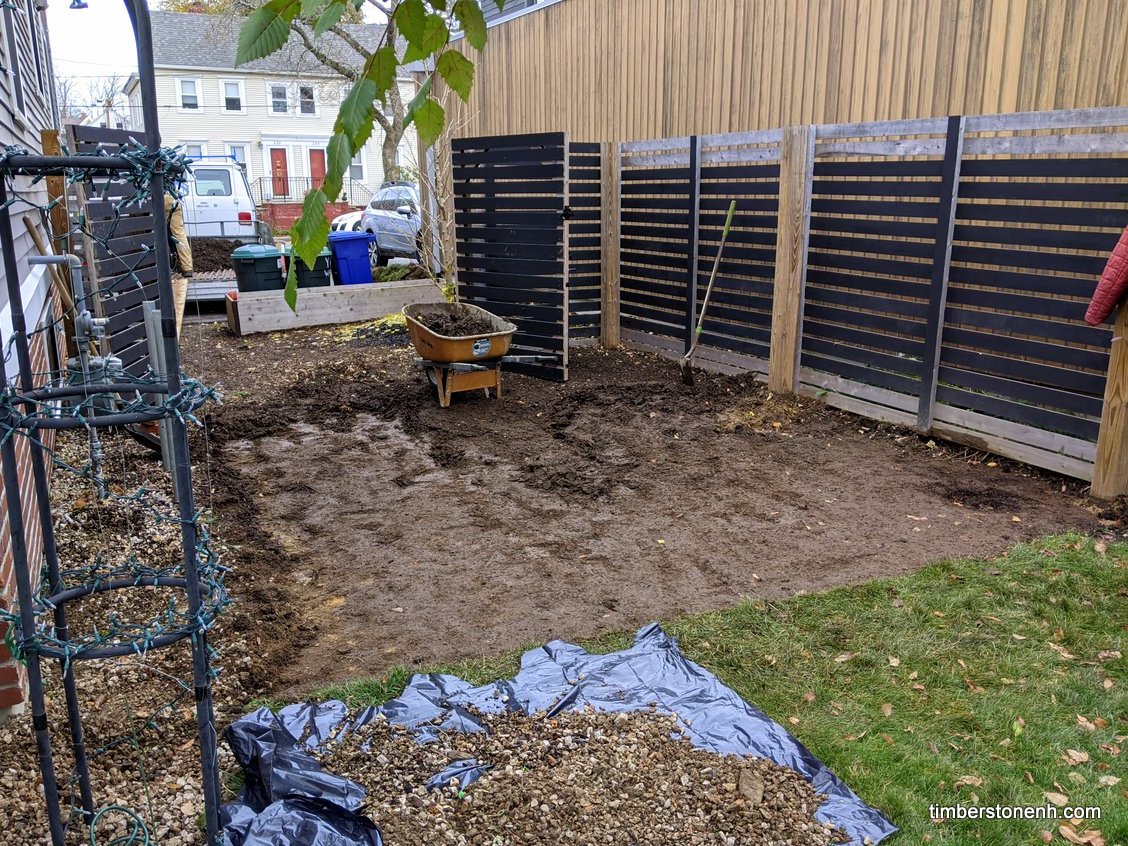
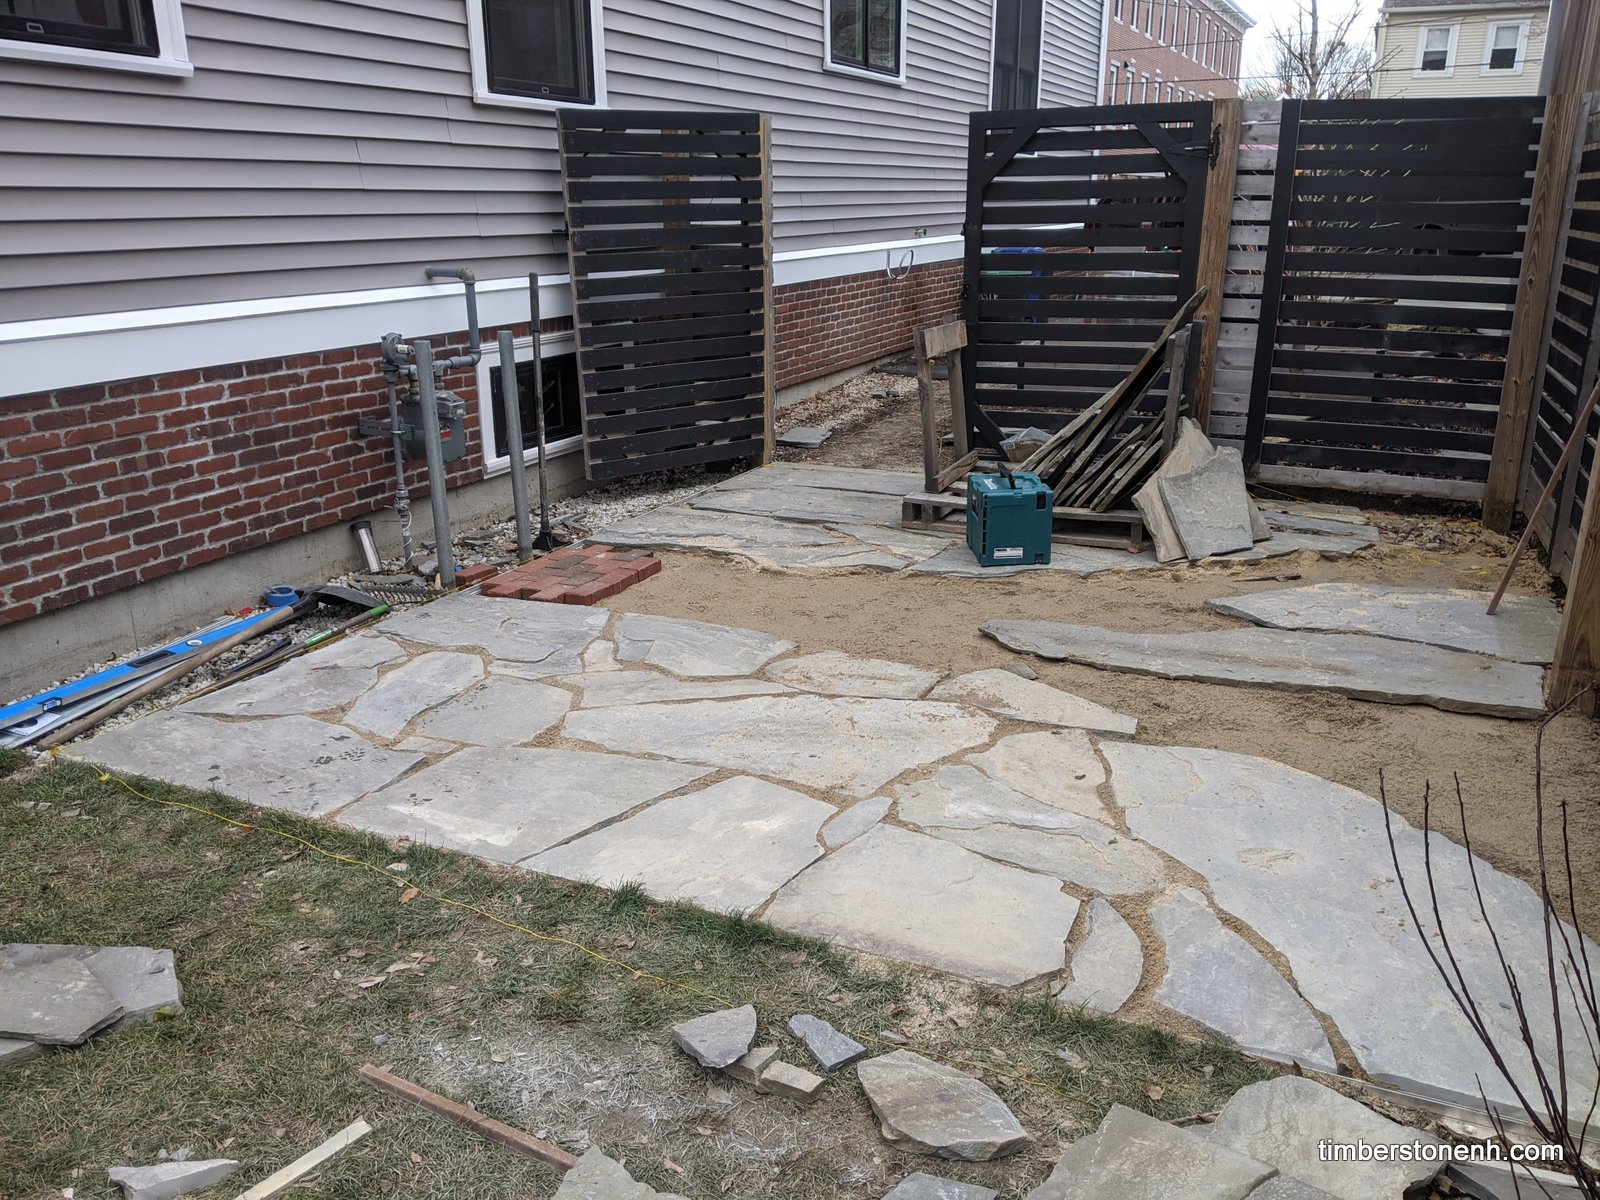
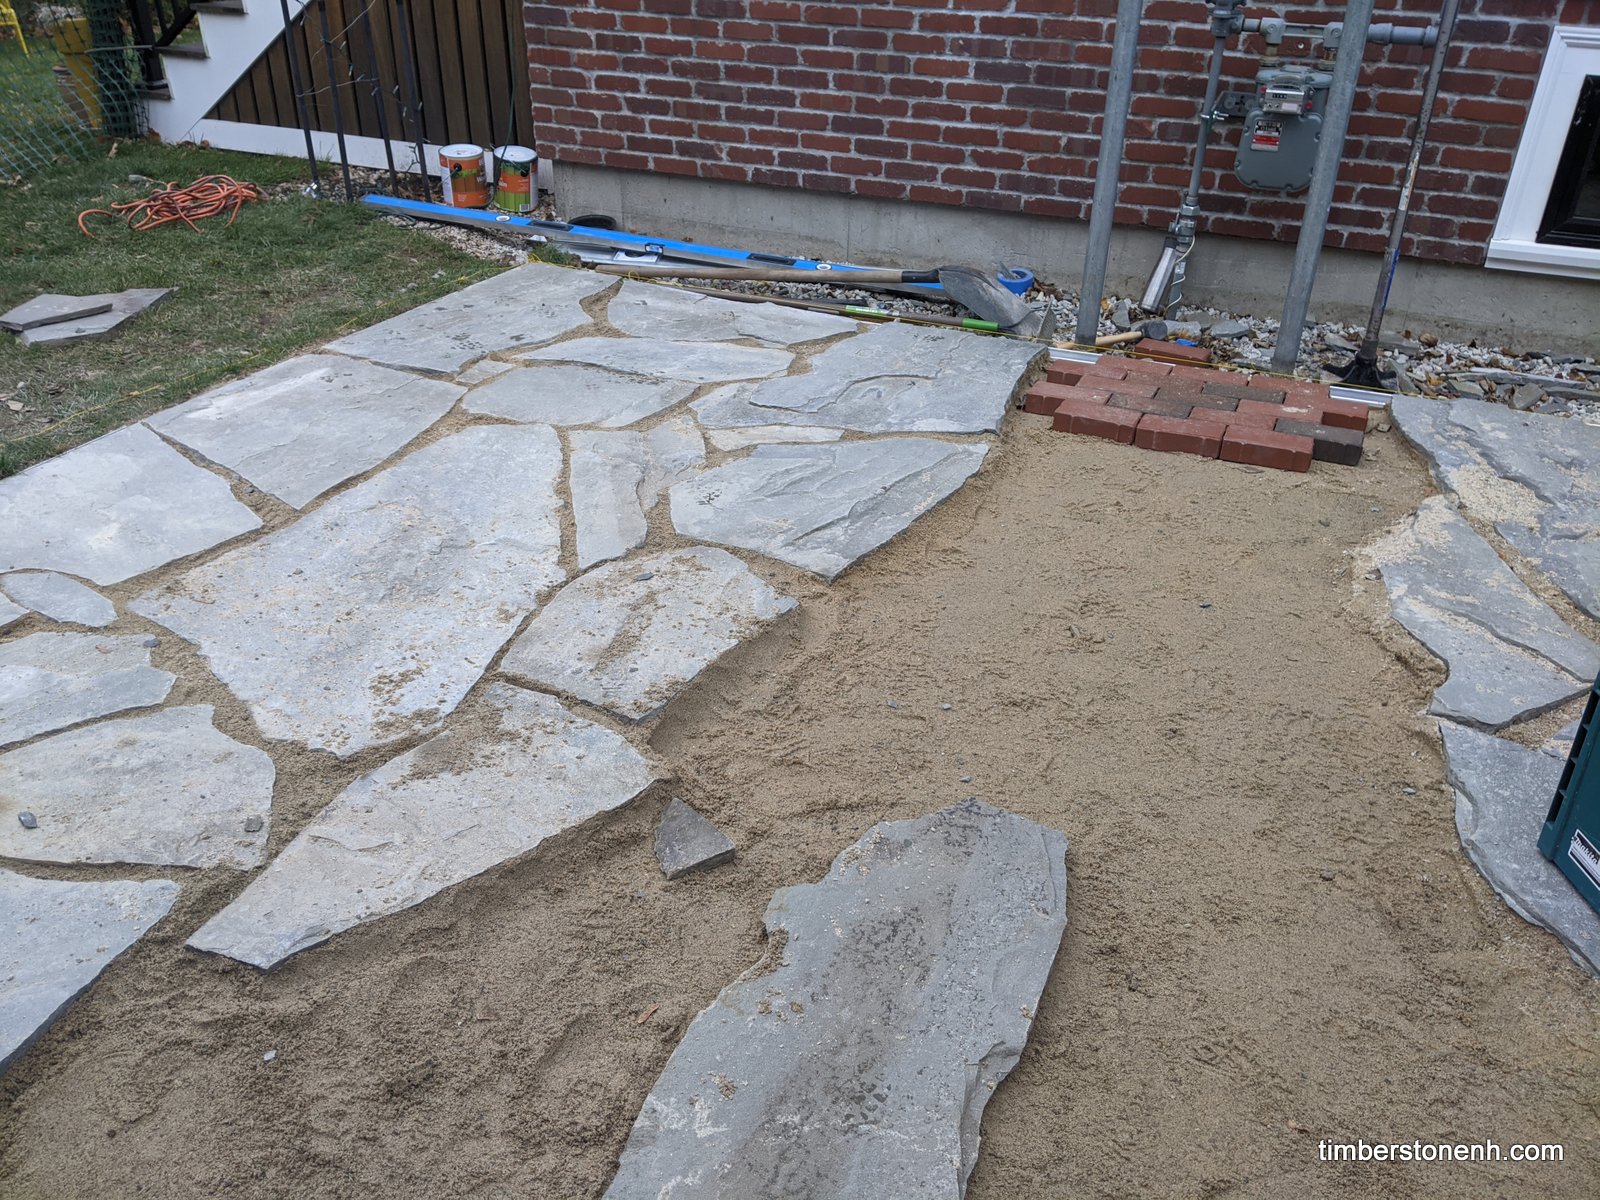
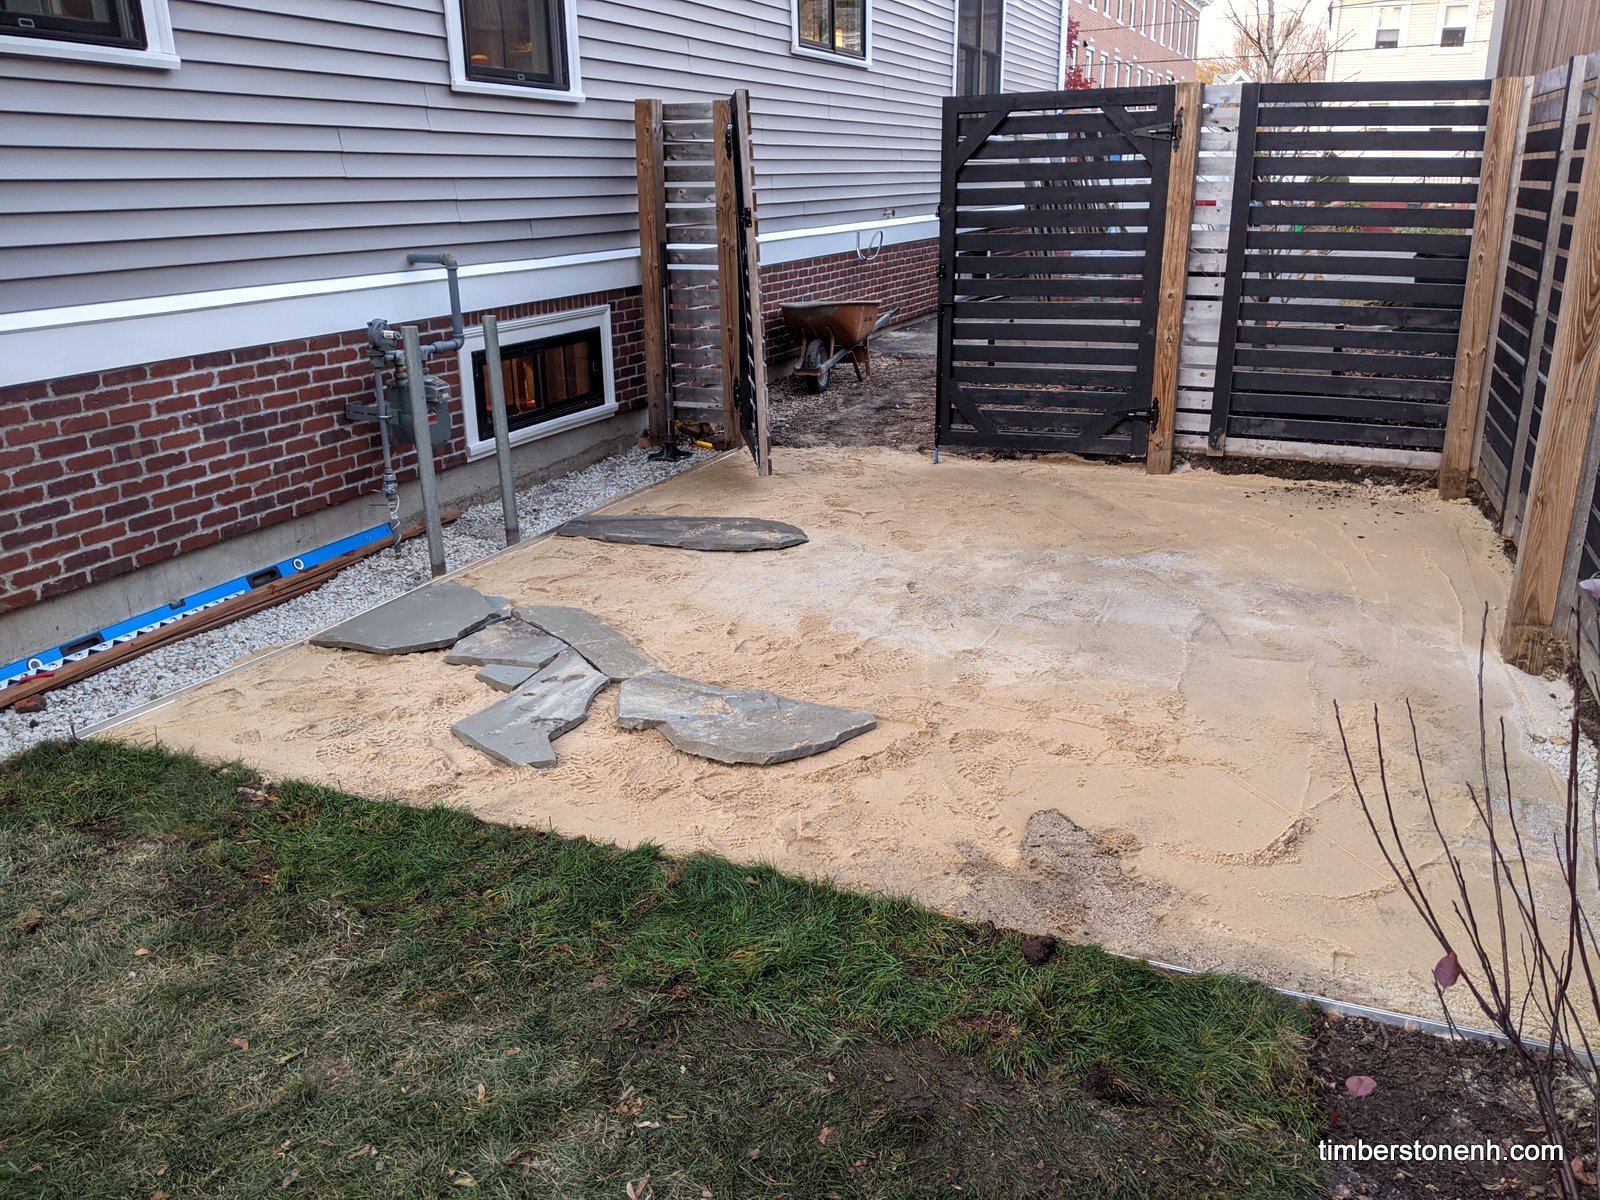
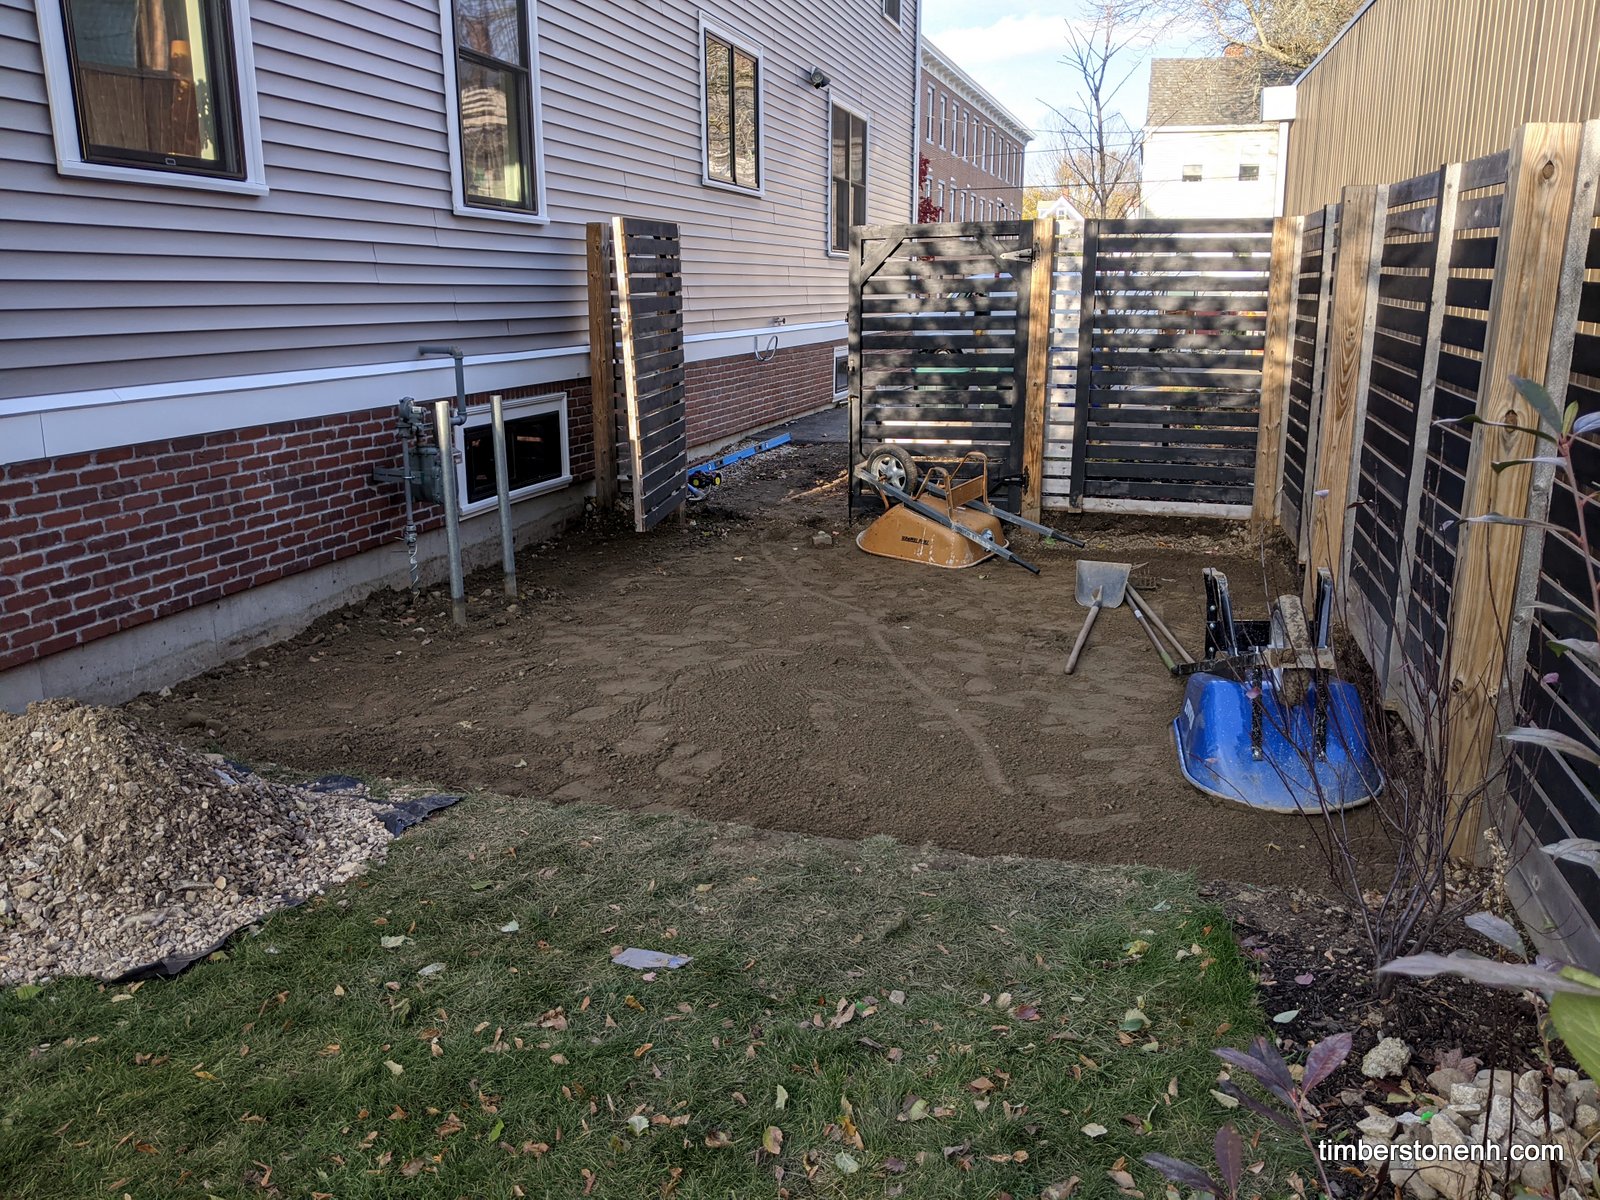
Digging on beautiful days in Portsmouth is nothing to complain about. We excavated down a few inches, taking note of the existing drainage. The next step was to compact the ground, then add a few inches of crushed stone (compacting as we go), then we add roughly an inch of sand to set a final grade. We were then ready to start setting the bluestone. The fun part!
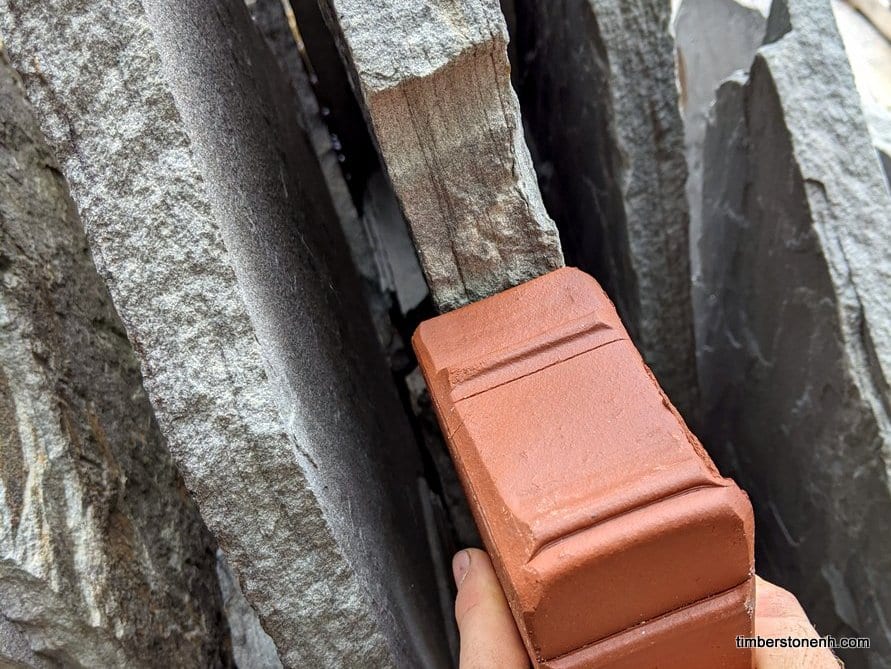
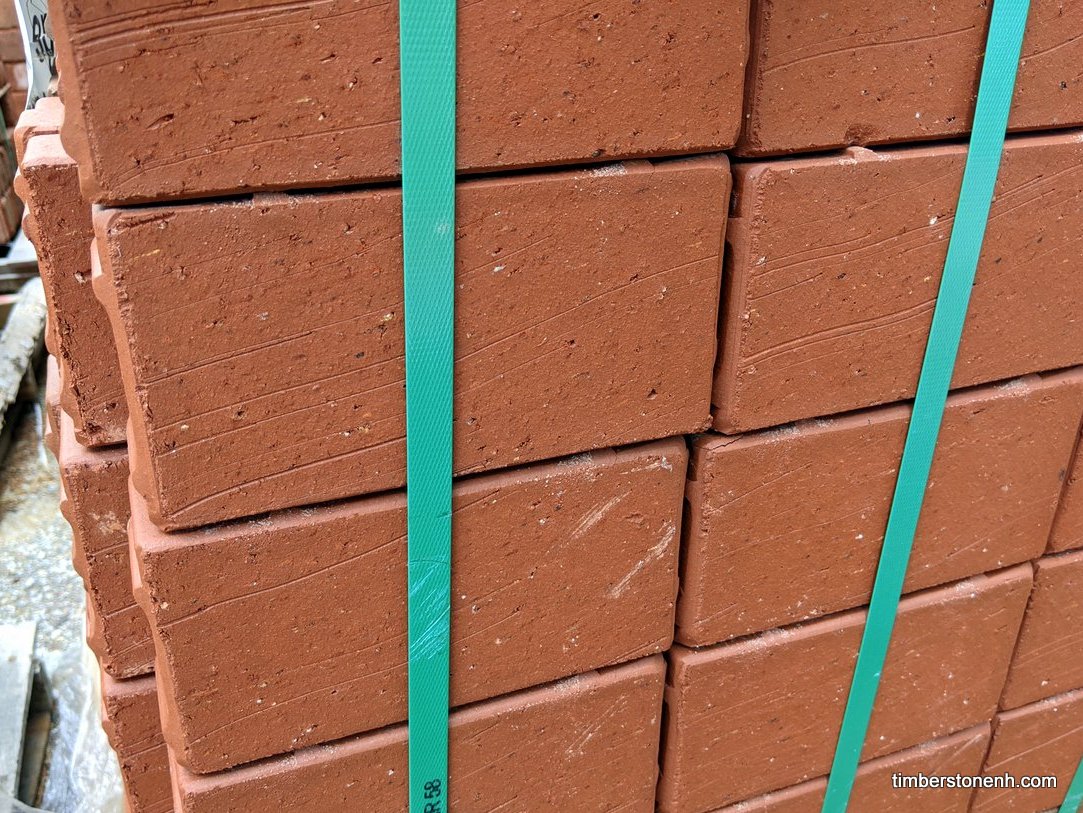
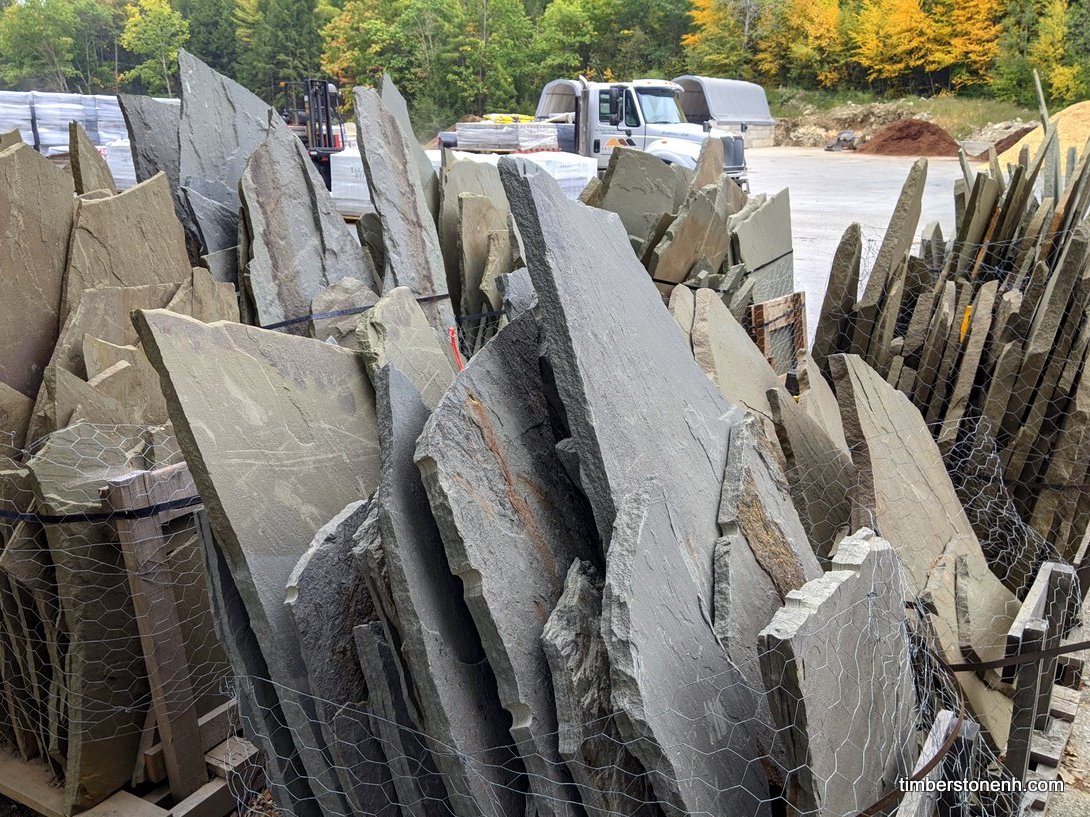
We headed over to Pro Landscape Supply to check out the different bricks and bluestone available. We went with a pallet of large naturally cleft bluestone. The cleft is all the surface variation. This adds a beautiful look and was exactly what we were going for. We also found a very regular clay paver brick for the vein and ordered 350 of those. Pro Landscape was able to schedule a delivery for us next day. We were all very excited to start this build!
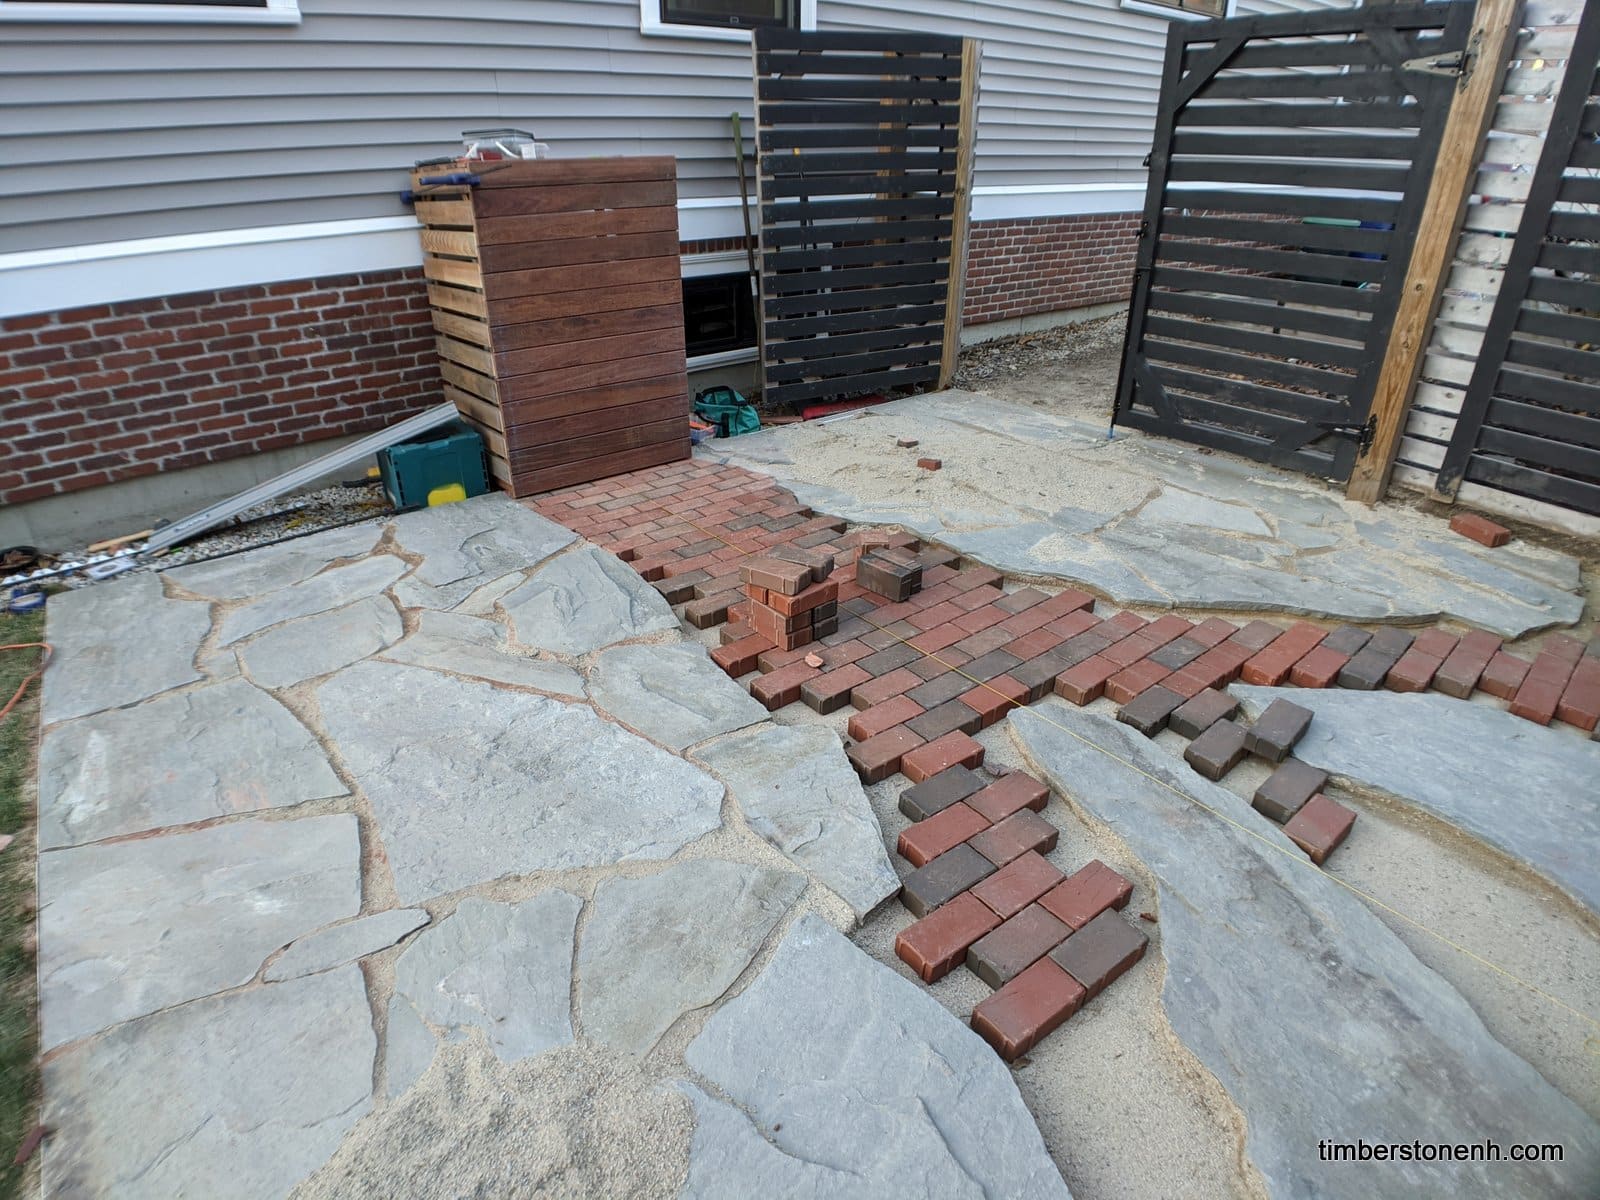
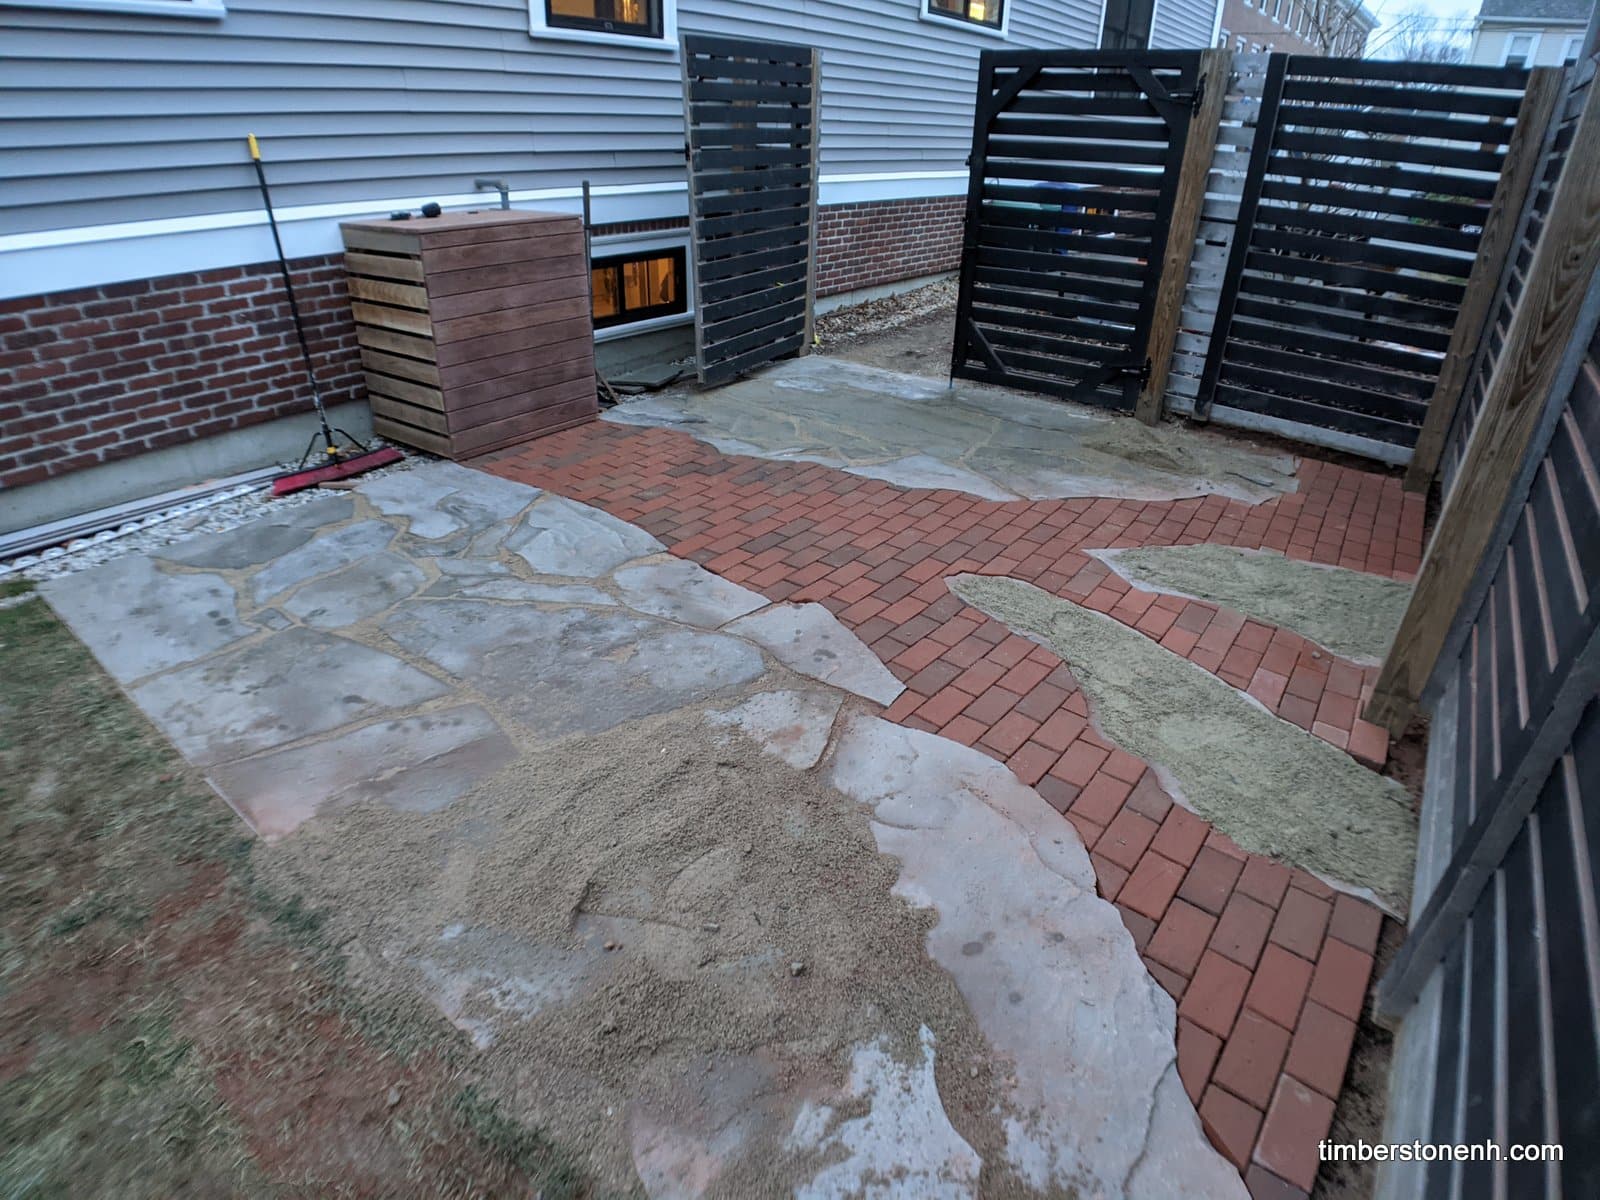
The natural variation of the stone shapes meant a lot of fiddling in order to make sure the stones were secure and looked good. It took significant time indeed, but it was fun and well worth it. Days later we filled all the joints of the stone with sand.
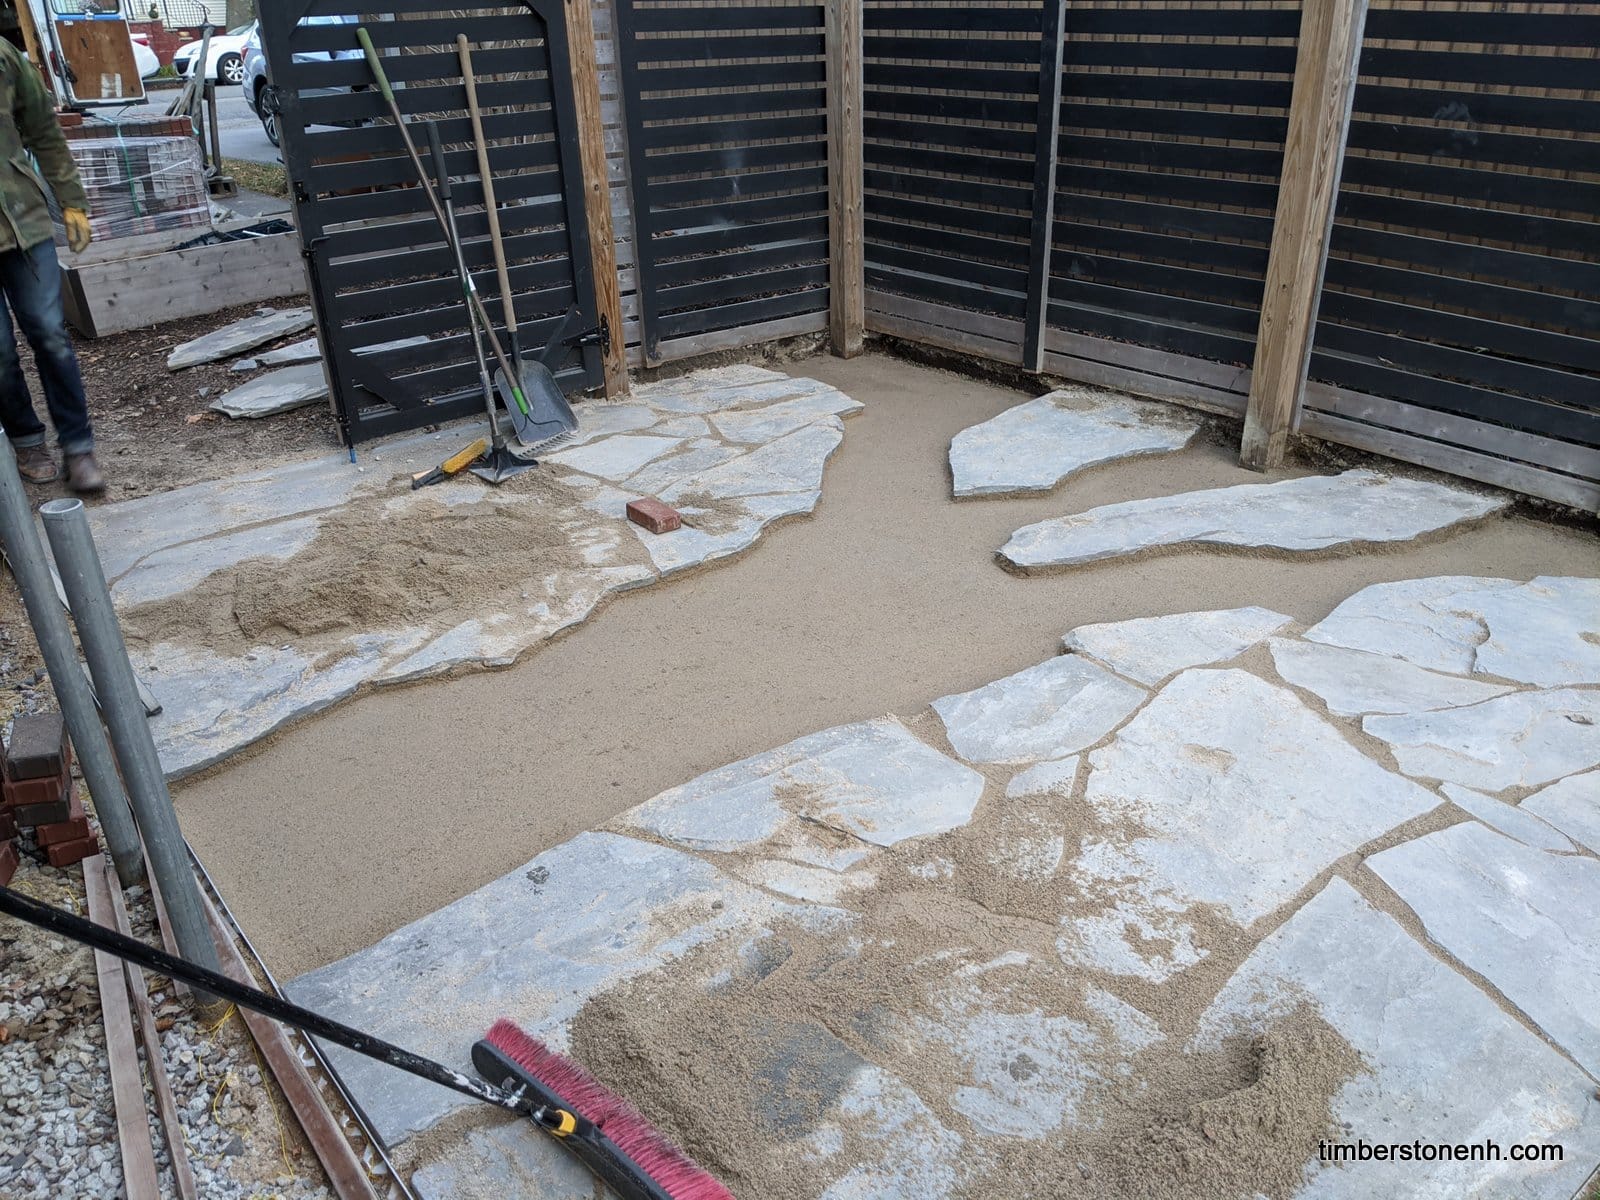
We were very happy with the project at this phase. The next step was to grade the sand between the stones to a flat average grade. We ran a brick along the edge of the stone to accomplish this. Then we tamped the sand, leveled it, tamped, repeat.
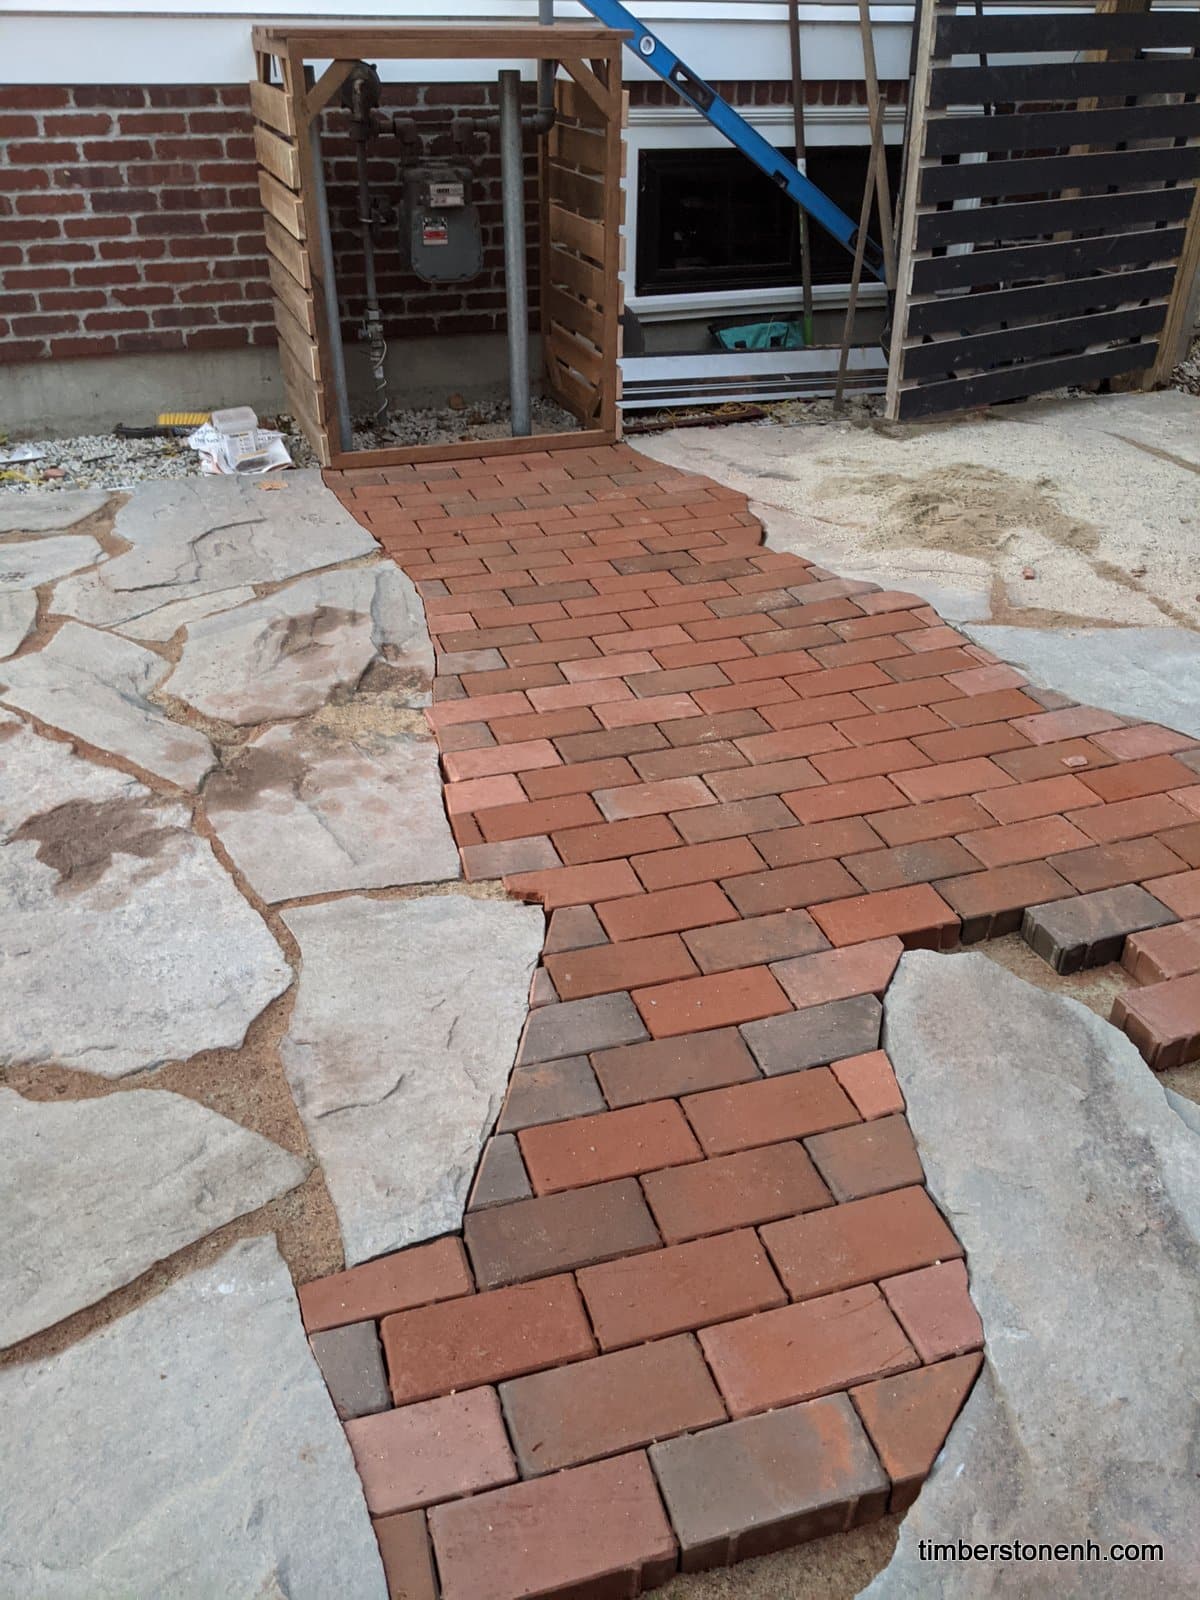
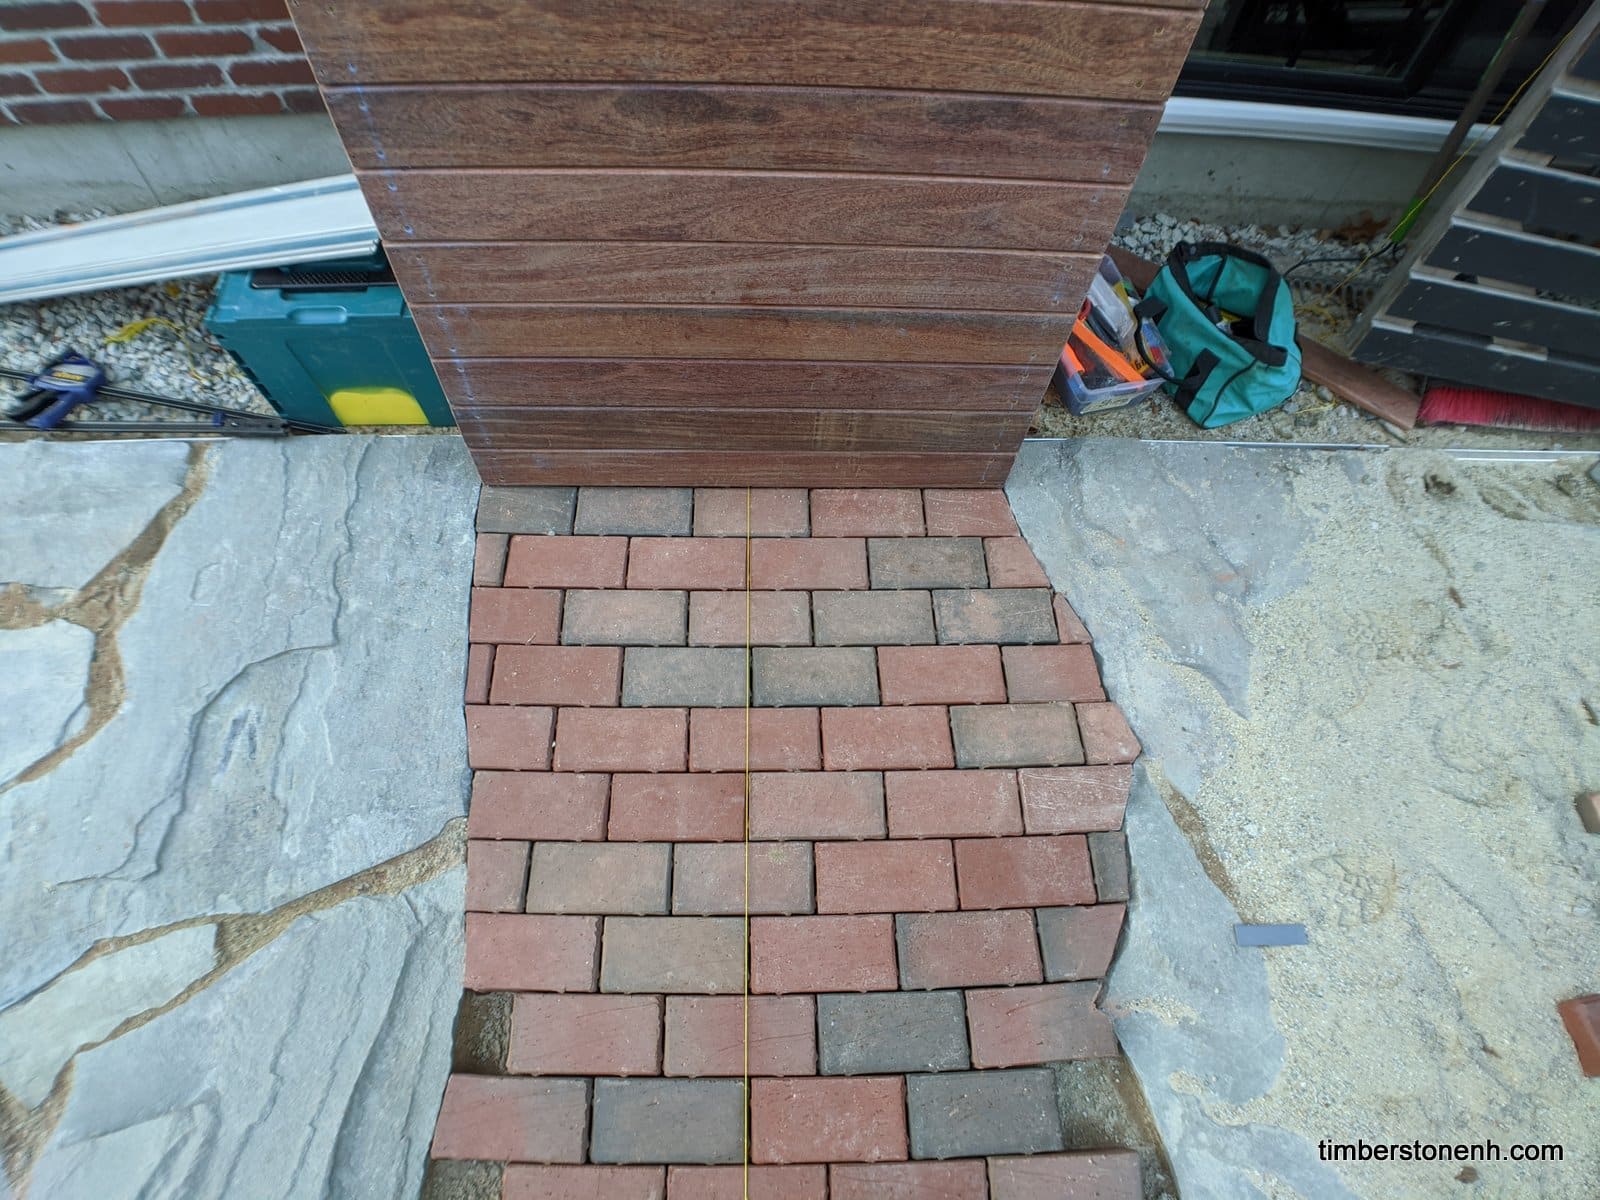
We then set as many whole bricks as we could. After those were in we came back and cut bricks to fit the shape of each adjacent stone.
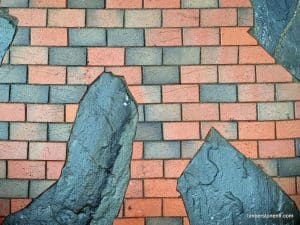
The final step was to set the bricks in a polymeric sand. This would help the bricks lock in place, and prevent weeds from poking through. We were going for a clean look with the bricks and the setting sand would create further contrast between the regular bricks and the bluestone organic edges.
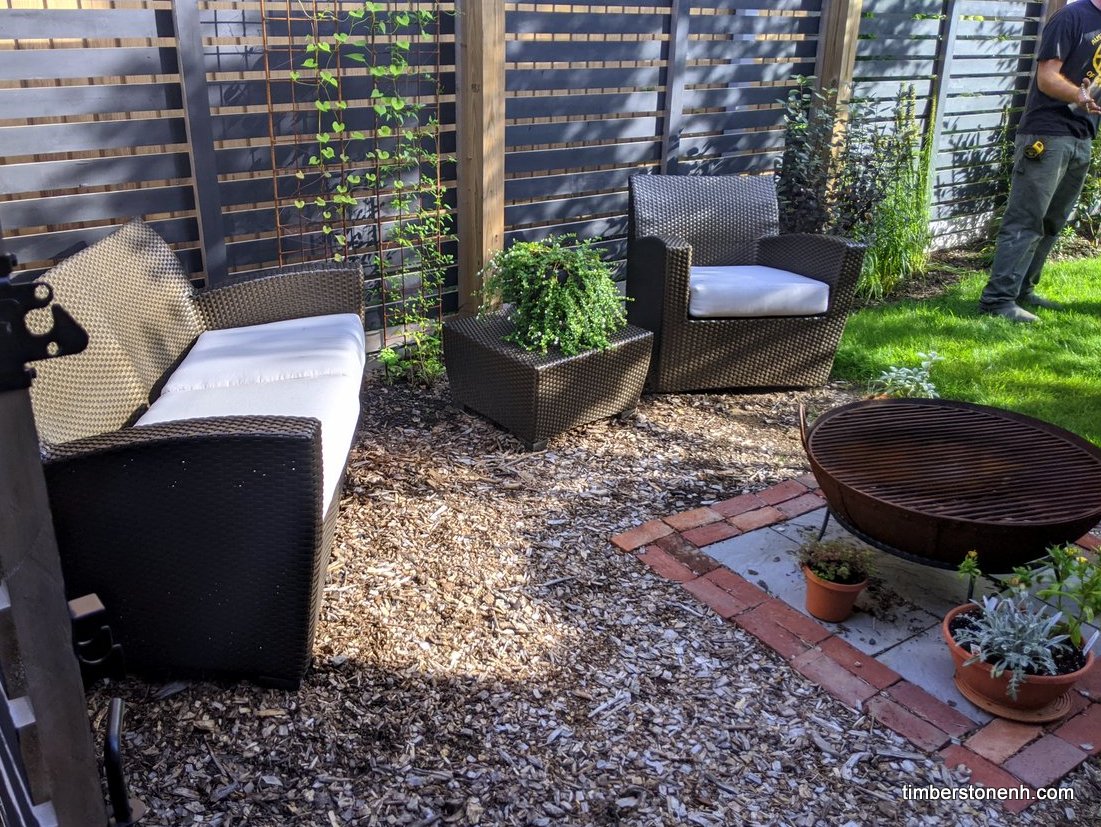
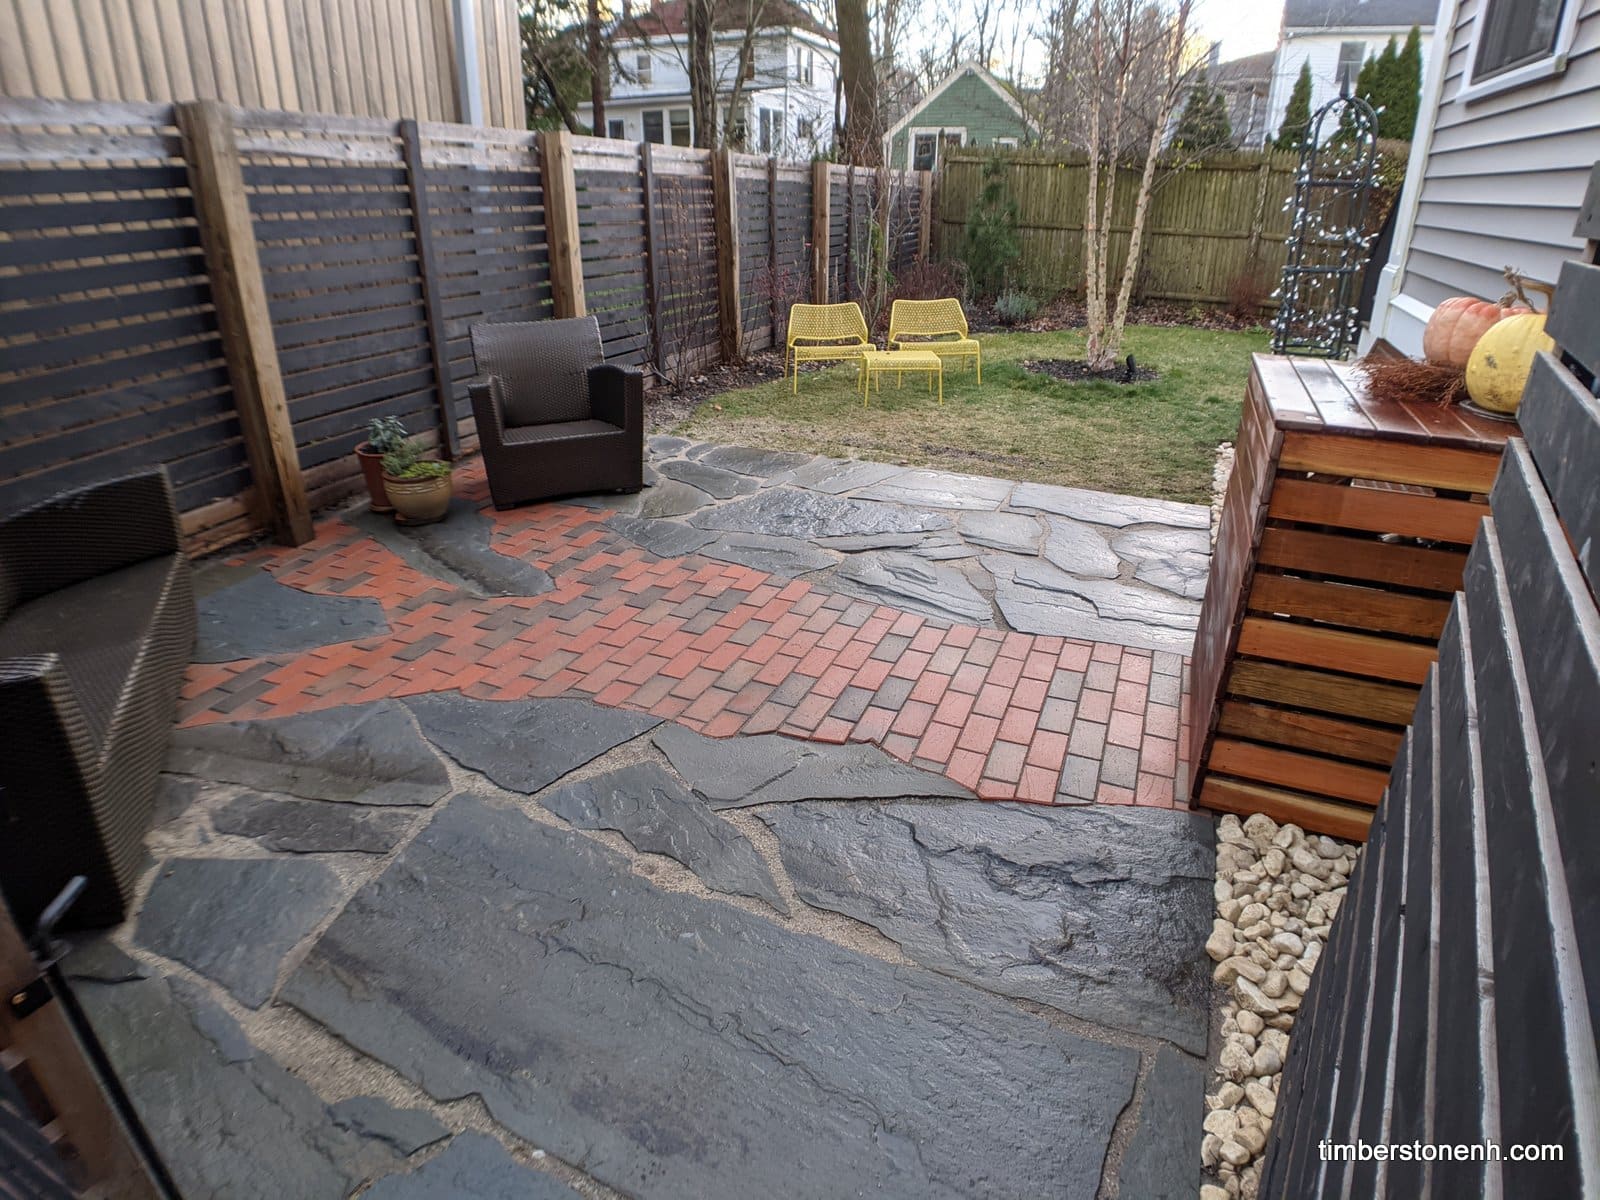
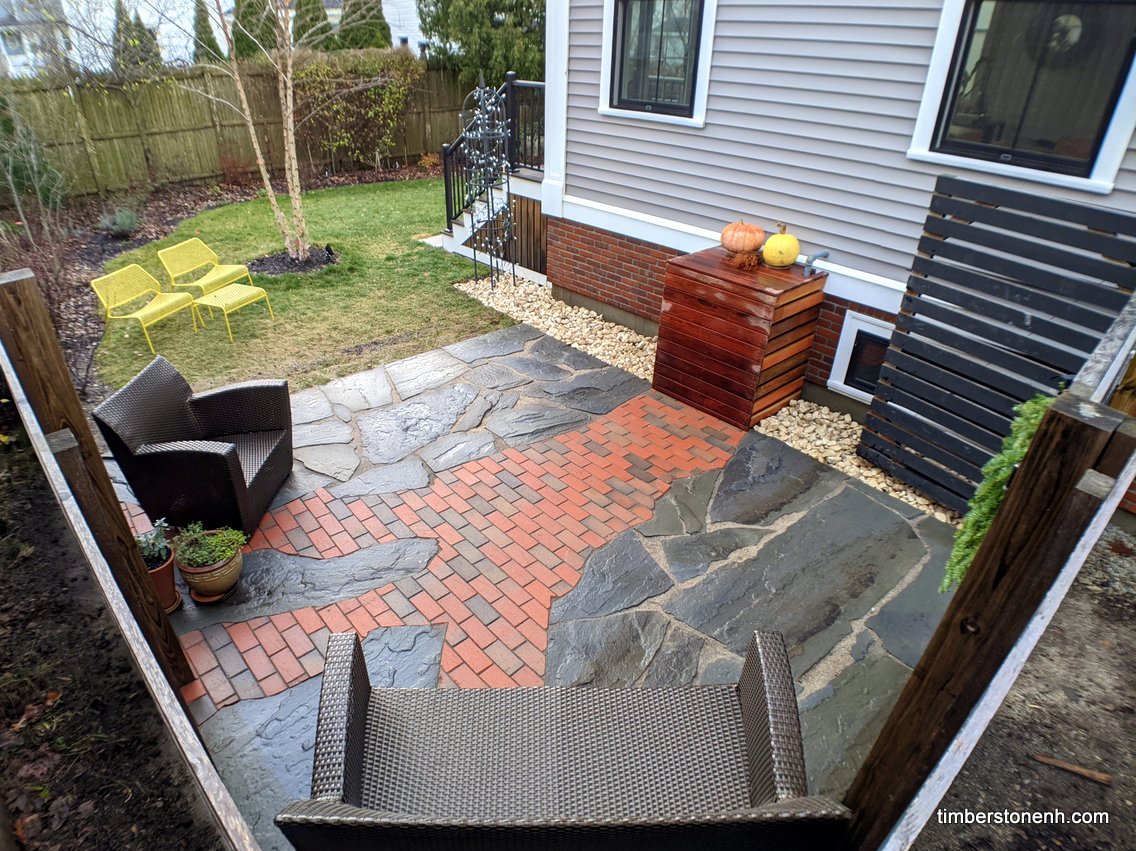
And here are the results:

It was obvious that they put a lot of thought into our project.
It was great working with Patrick and his team. It was obvious that they put a lot of thought into our project. Unlike some of the other companies we interviewed, they were good at listening, troubleshooting and determined to give us a unique design. They are creative, imaginative and knowledgeable about the materials we were using. We highly recommend Timber & Stone.

Here are some photos of the process: